New Zealand (South island)
Whales, seals and glaciers

Route
- Picton (ferry) to Kaikoura
- Kaikoura to Mount Cook
- Mount Cook to Wanaka
- Wanaka to Fox & Franz Josef glacier
- Franz Josef to Christchurch via Arthur’s pass
Budget
- € 92.7 per person per day
- 7 days on the south island (too short!)
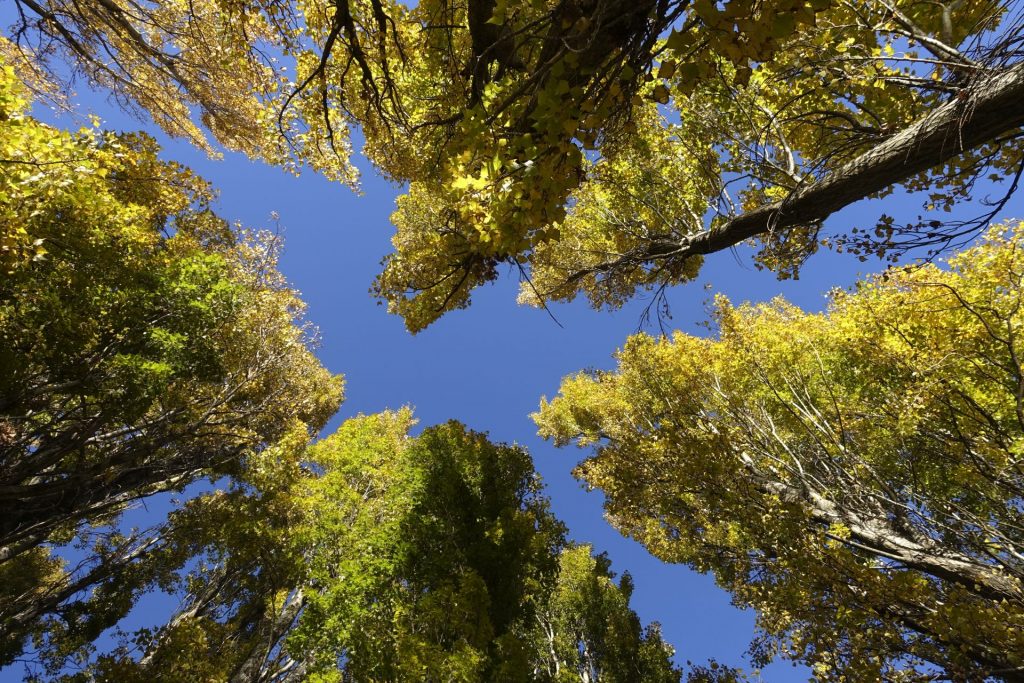
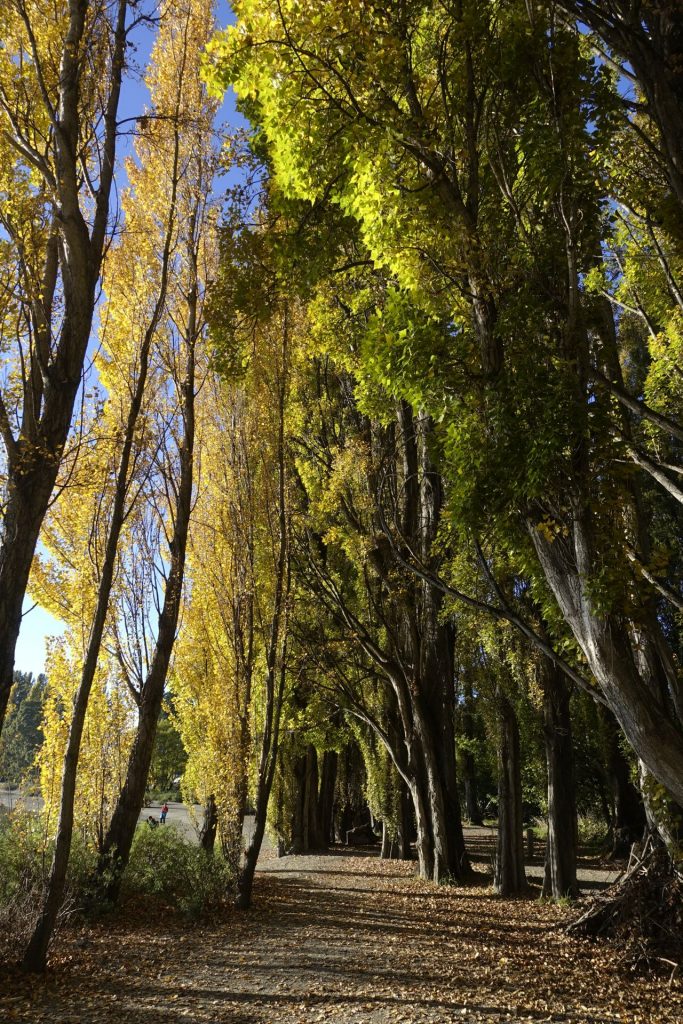
- Second week of April 2019 (beautiful colours of autumn!)
- Useful information – prices, and more, at the end of the article
Stage 1: Picton to Kaikoura
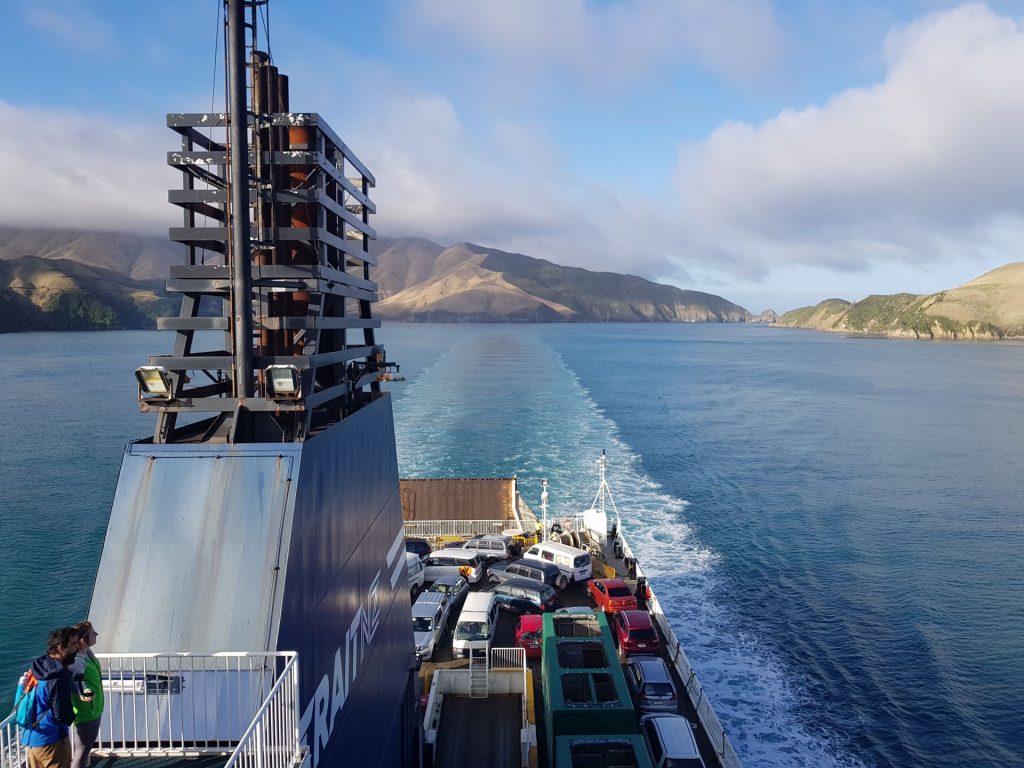
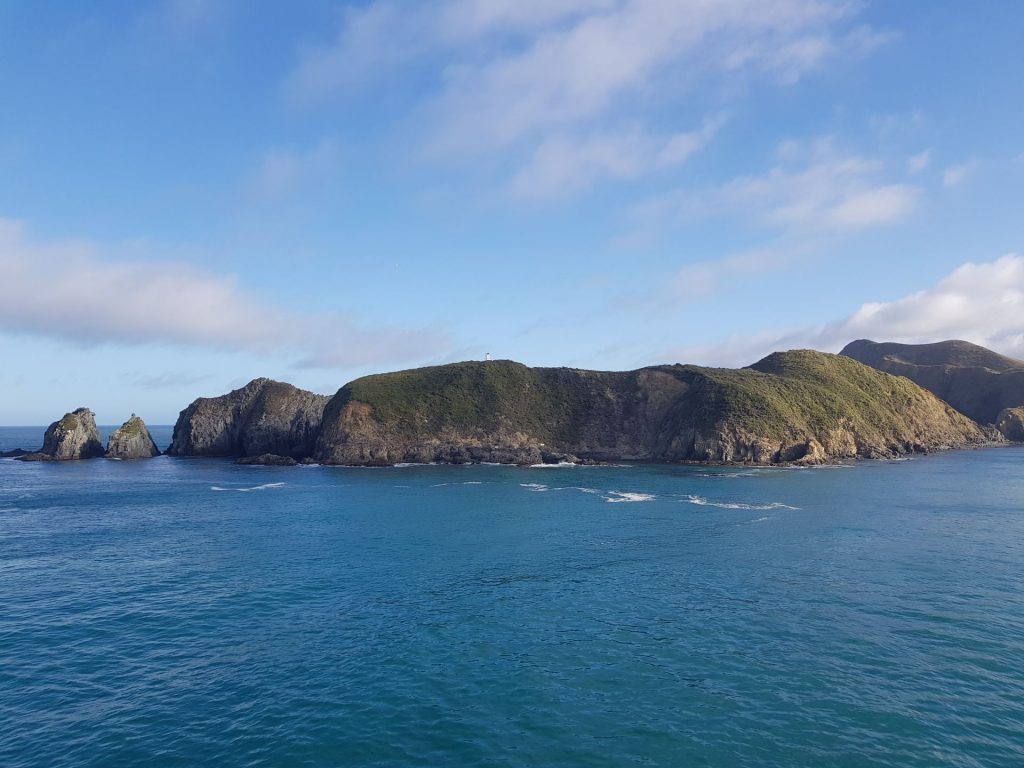
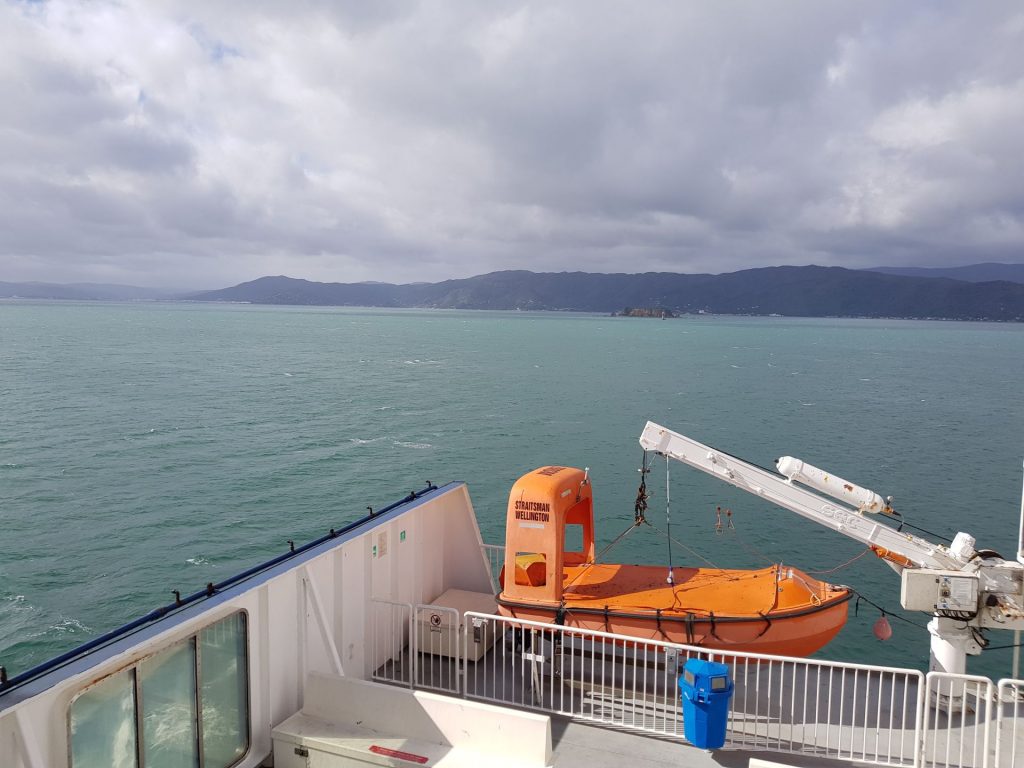
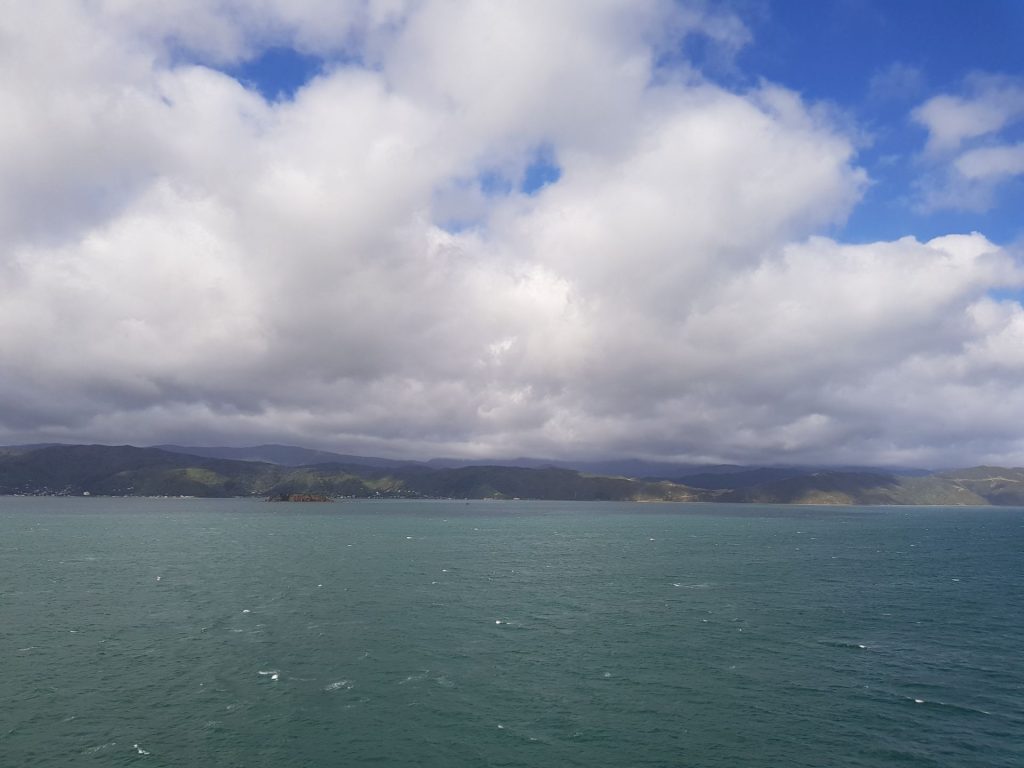
Crossing the Cook Strait between the two islands is possible via two ferry companies, Bluebridge and Interislander. They’re both quite expensive (about 120 euro), but at least the views are stunning. It takes about 3 hours so it’s a relaxing experience.
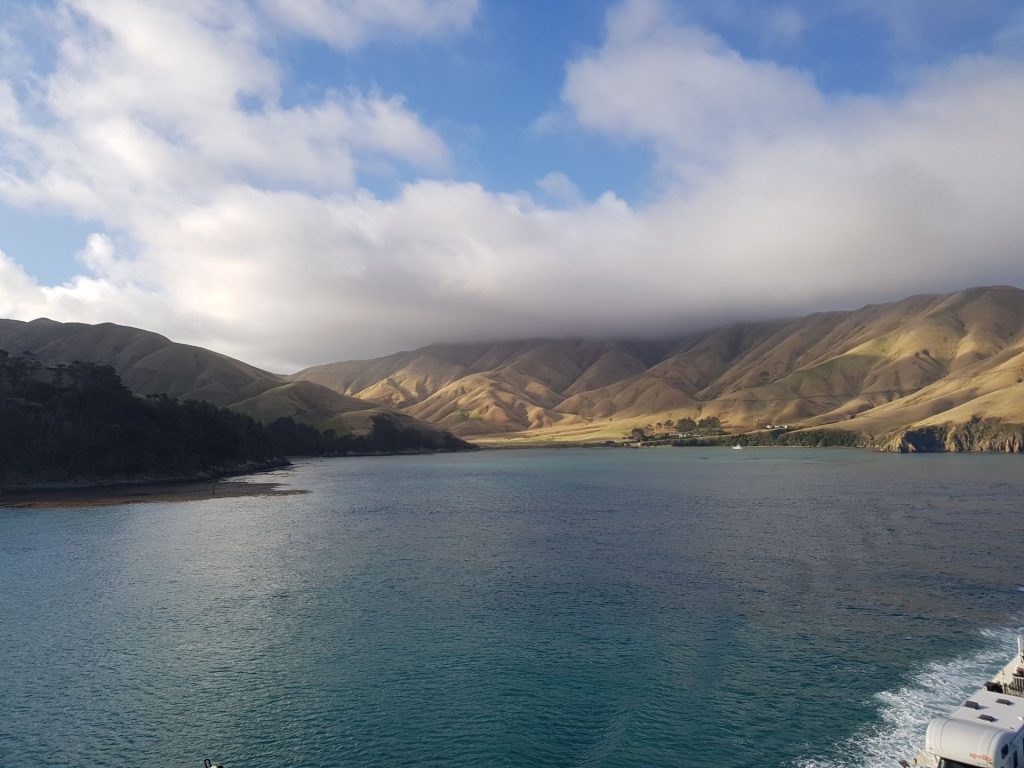

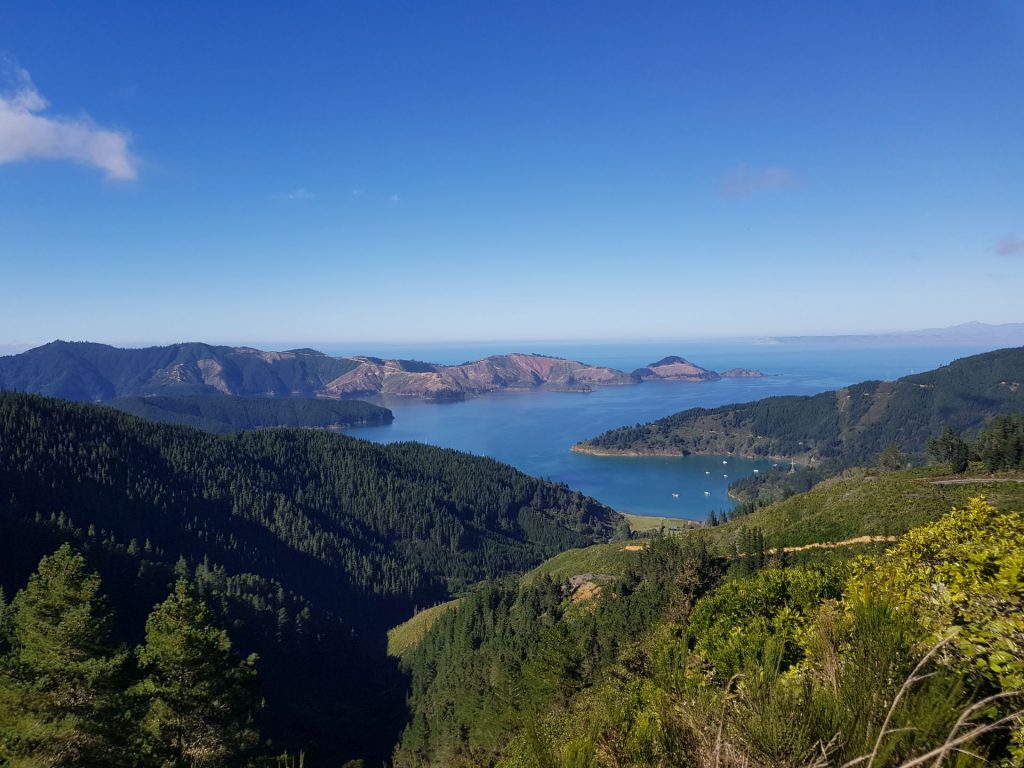
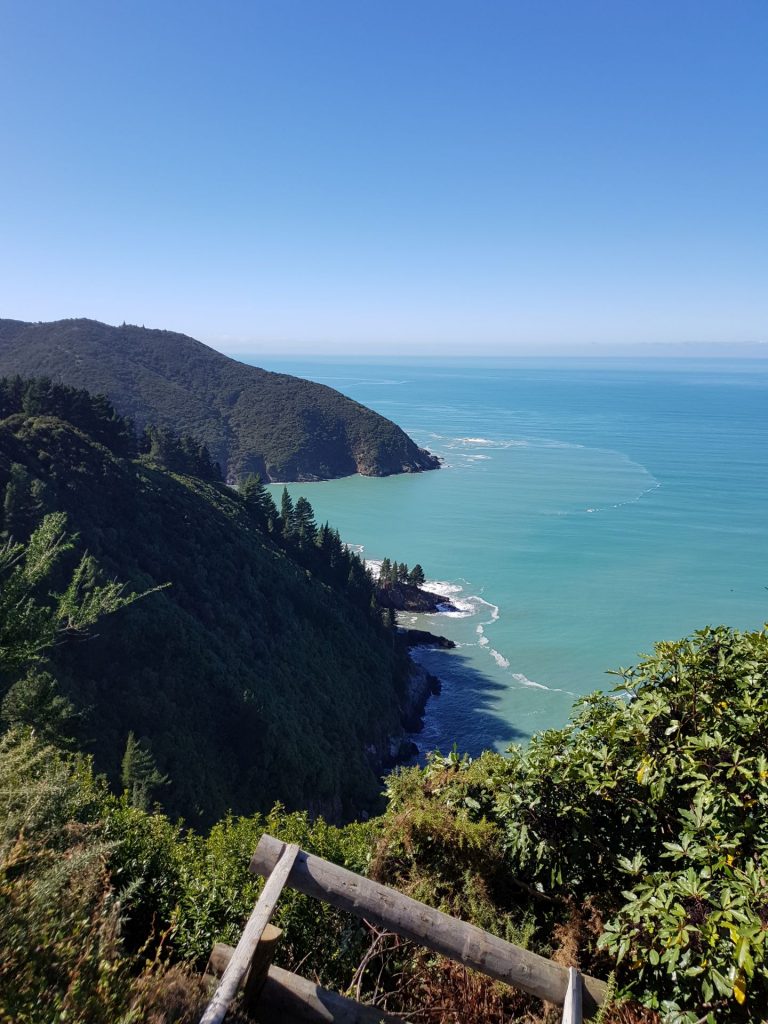
We decided not to go straight to Kaikoura but to go up north via the Whatamango bay. A scenic route next to the coast, with some rough terrain to conquer. We weren’t insured for the van on unpaved roads, so we had to be very careful!
After surviving the beach road we decided to camp in a cheap place with a lot of bunnies and hedgehogs.
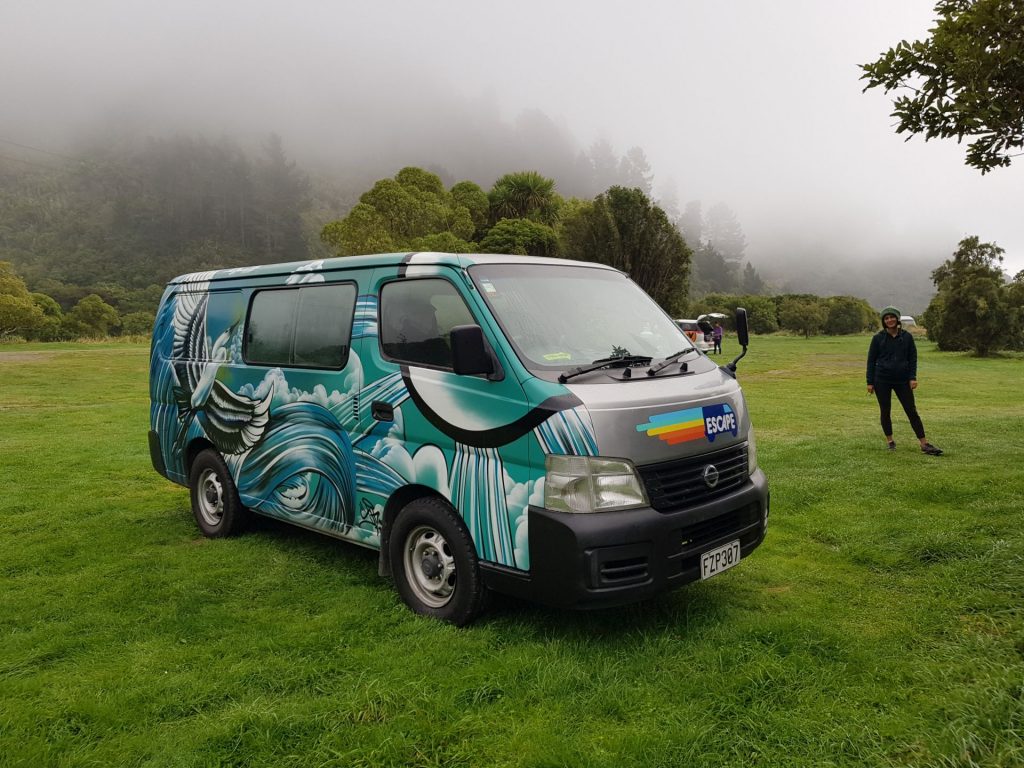
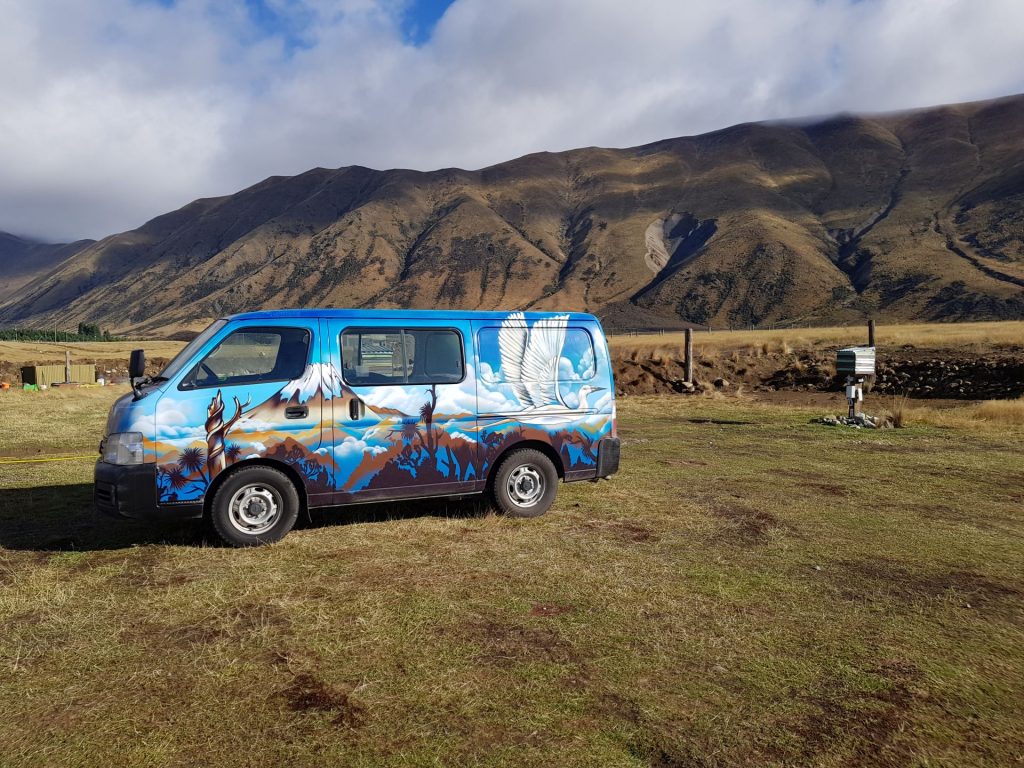
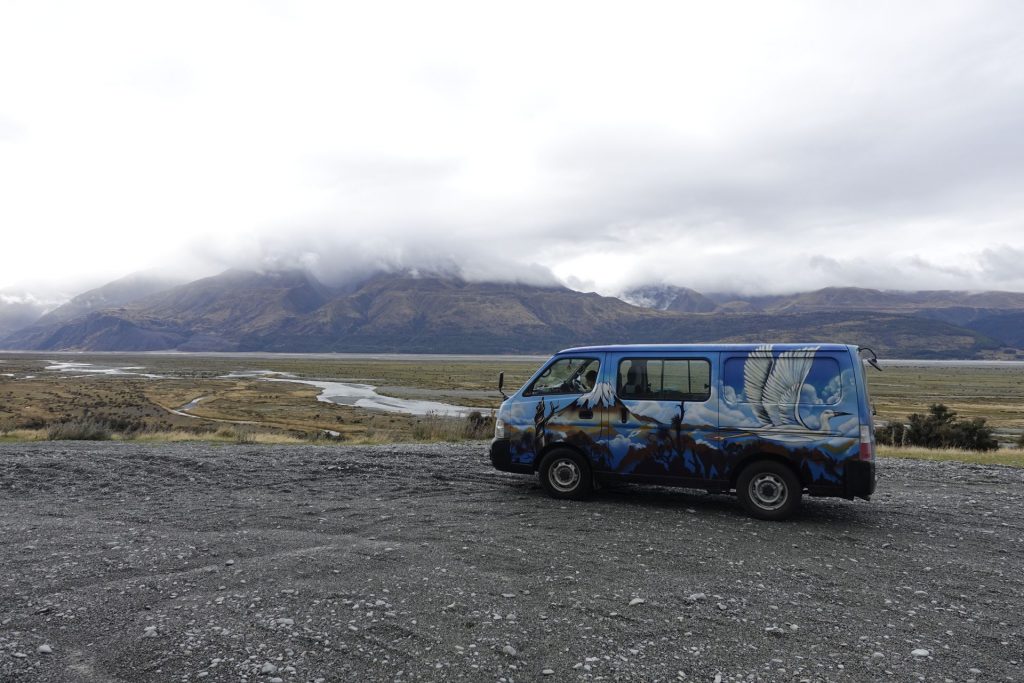
Taking some time to admire the van 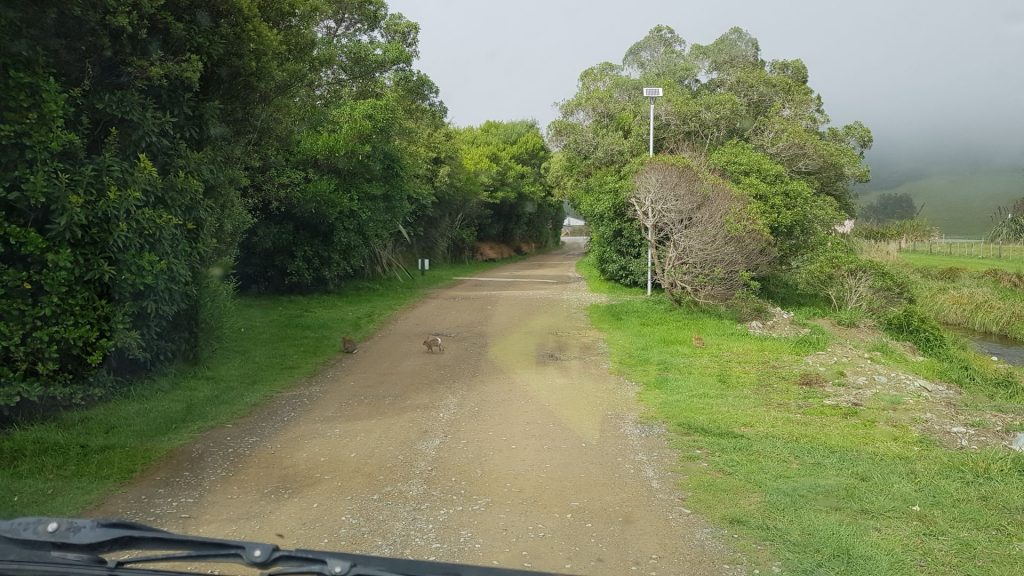
Wild bunnies 
More wild bunnies caught in our headlights 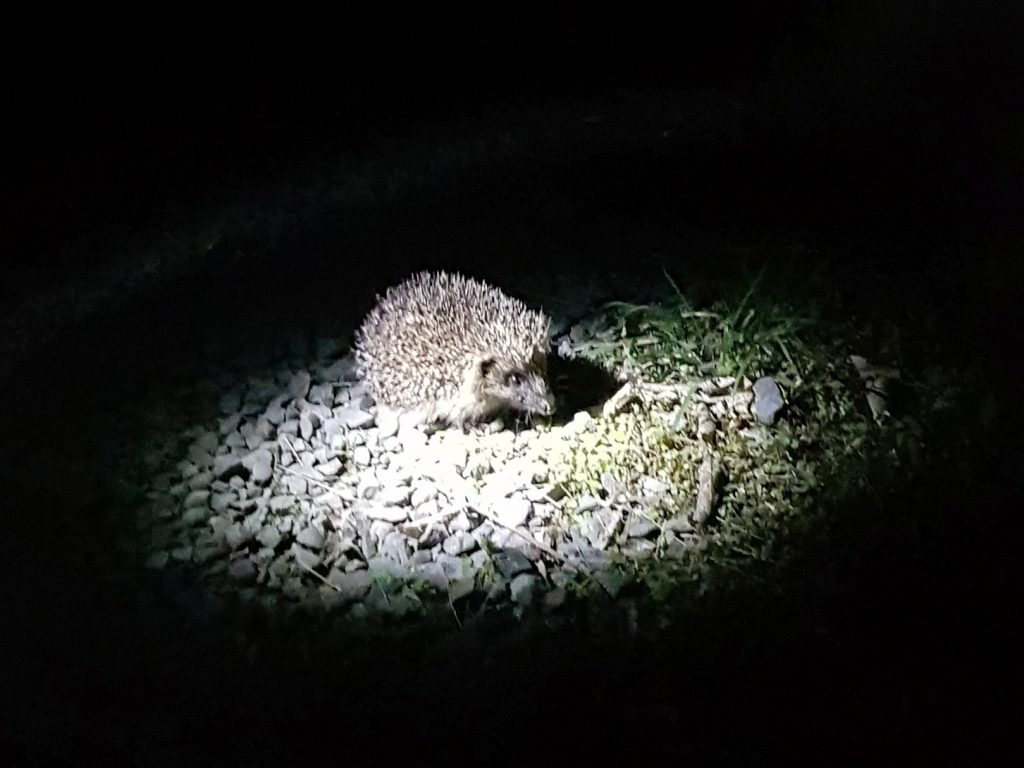
A very sweet hedgehog that was not scared of us in the least
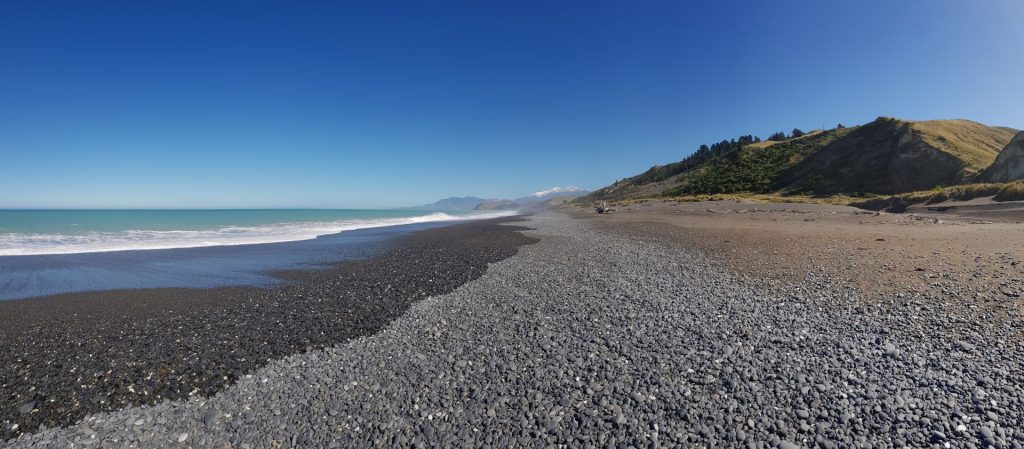
The next day we had a quick stop at Robin Hood Bay, and we kept on cruising towards Kaikoura.
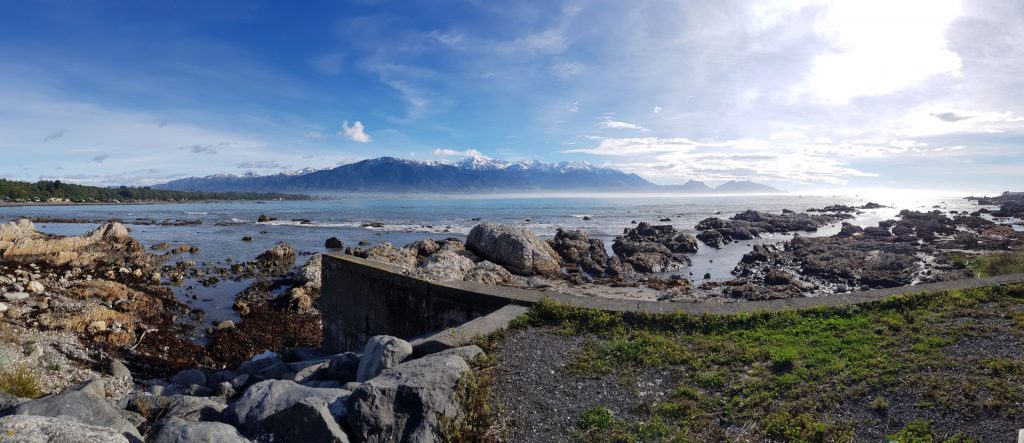
The picture below is a 360 photo, click and drag to look around, scroll to zoom!


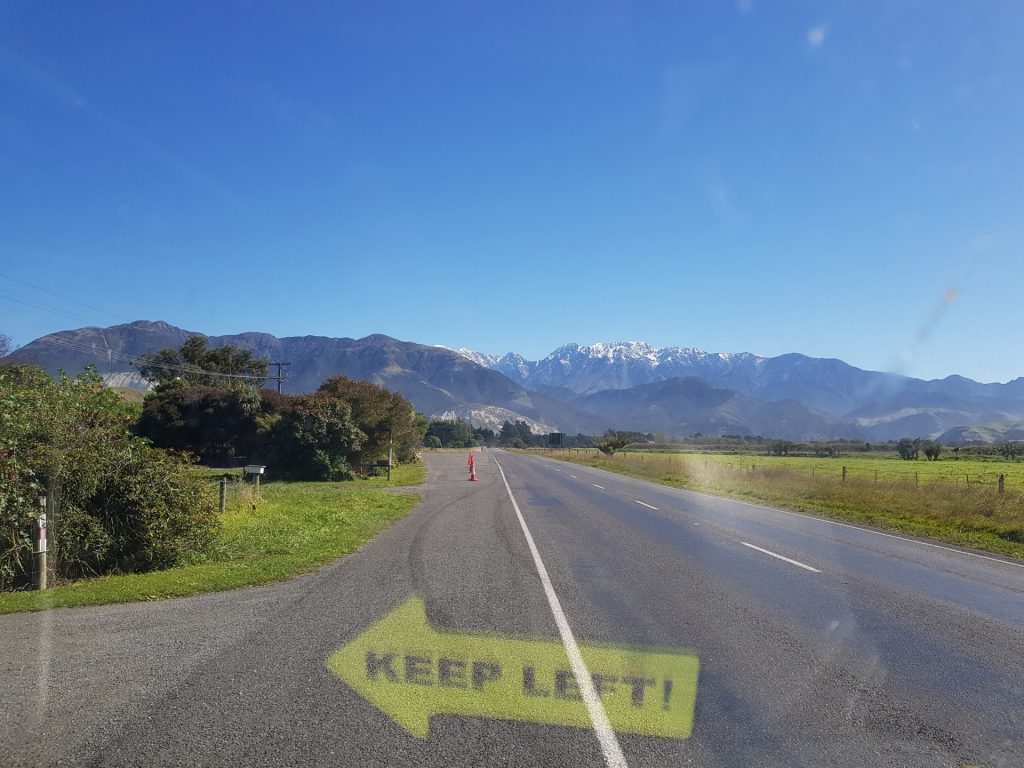
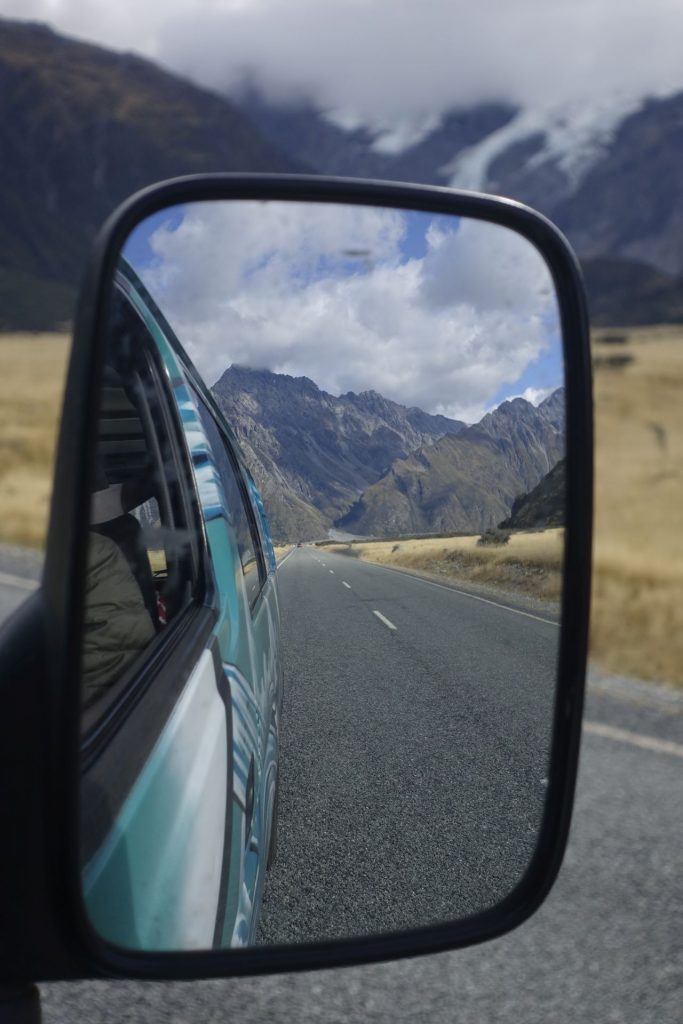
in NZ they drive on the left hand side
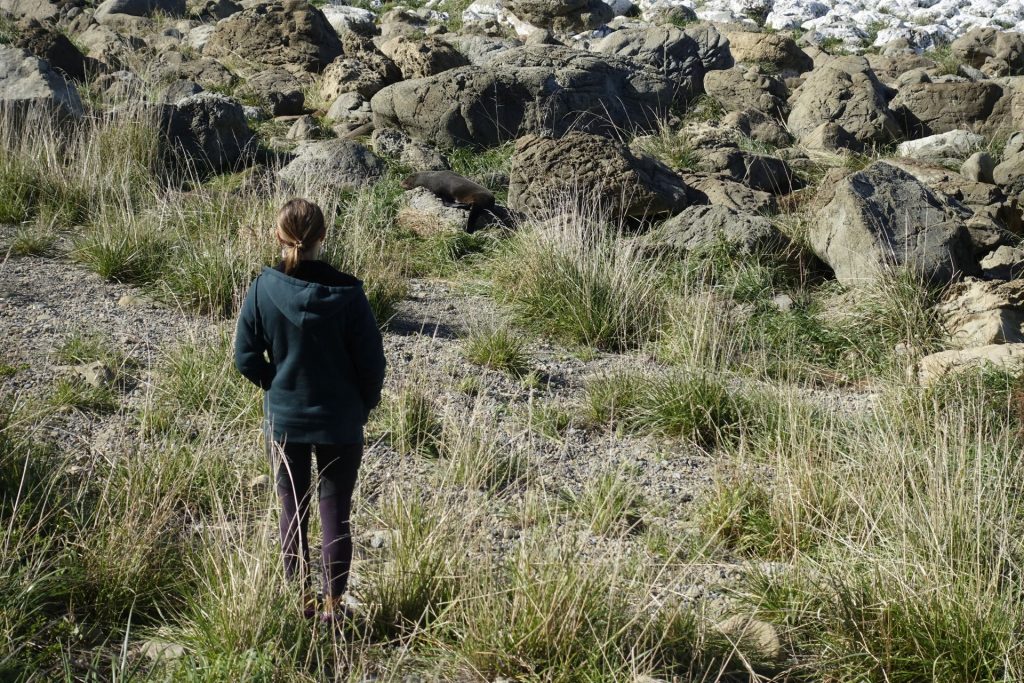
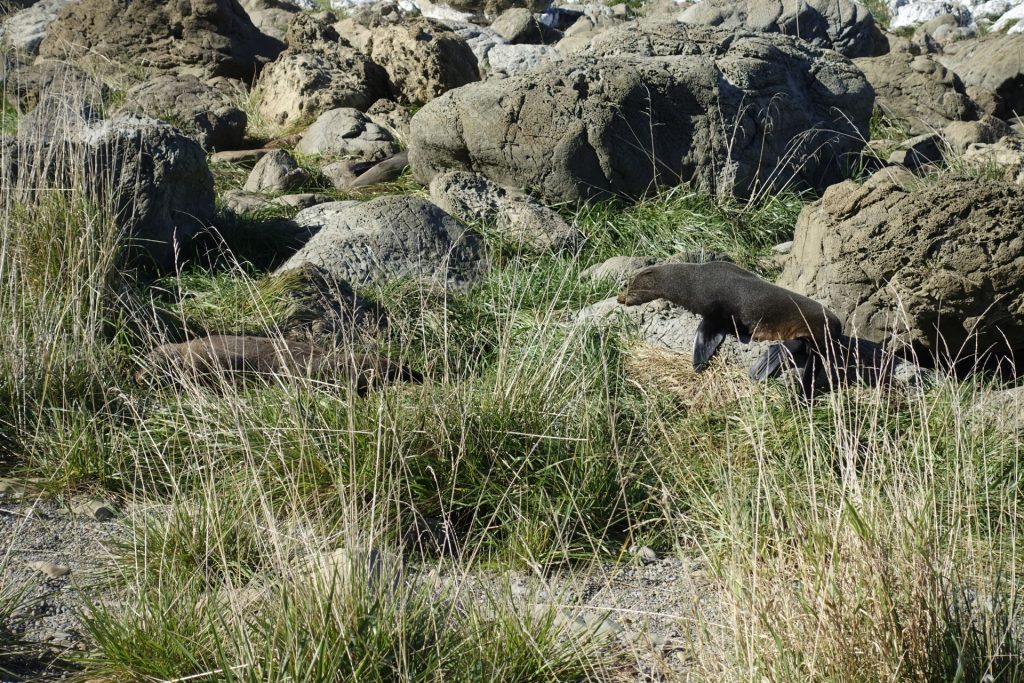
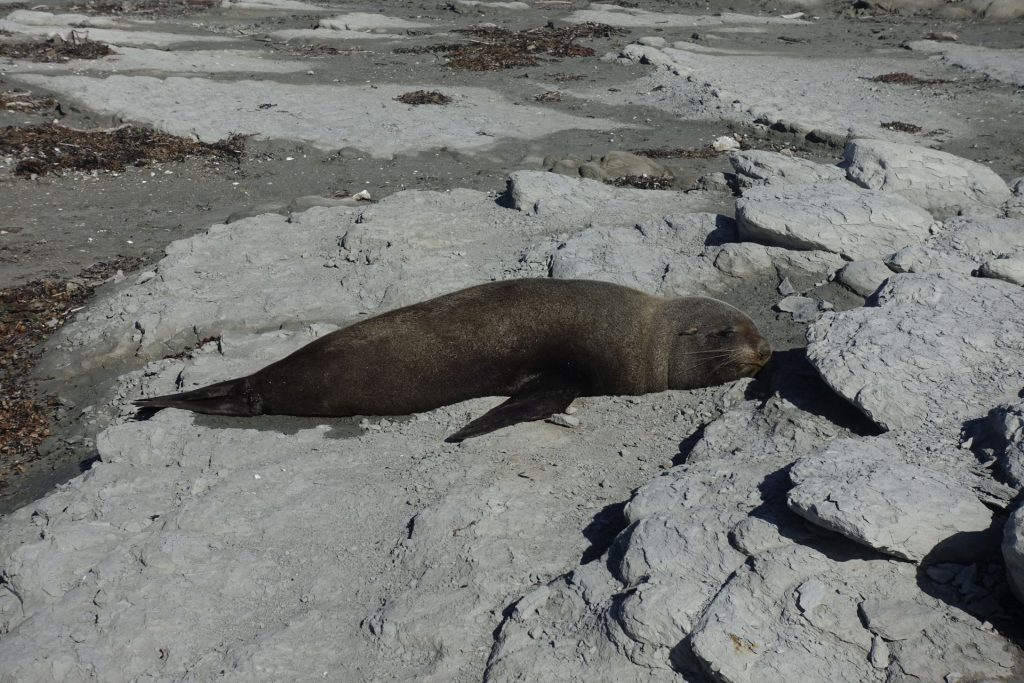
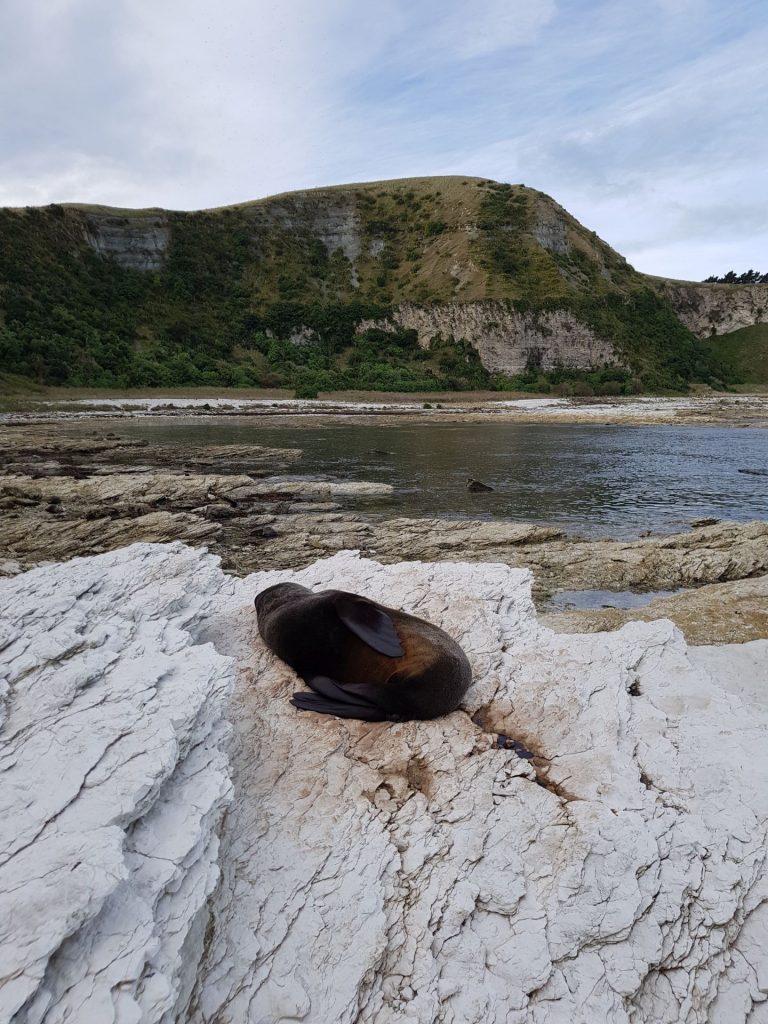
Kaikoura is famous for its seal colonies. You can find these cuties all over the coast, sunbathing or playing with each other in the water. During the day they like to do nothing at all!


Lots of seals trashing around in the pond in the middle 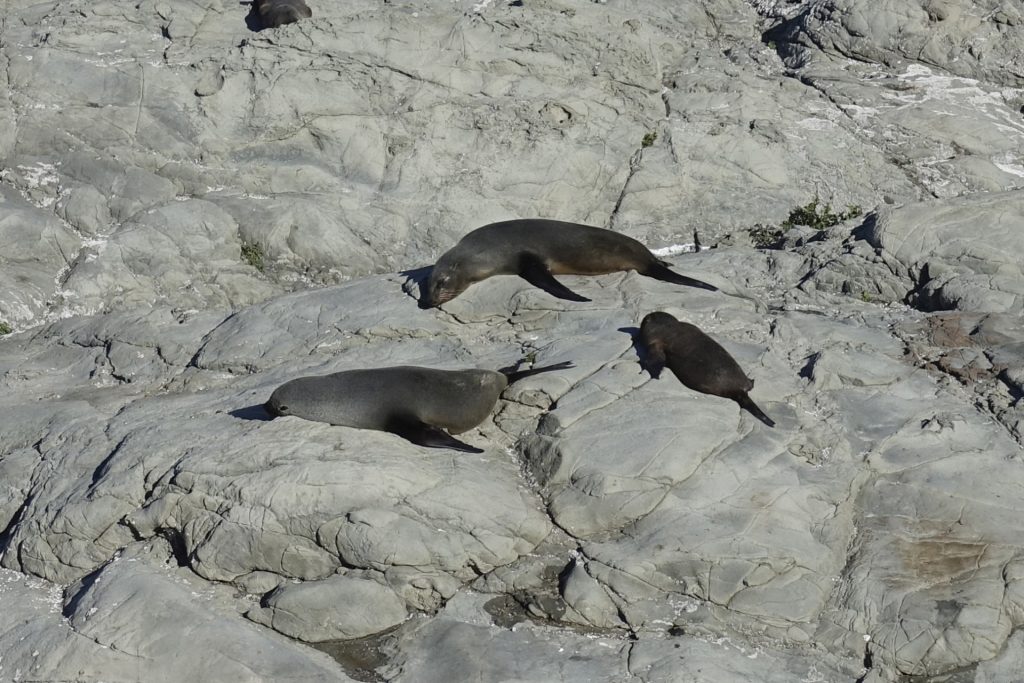
The rocks are so waaaarmmmm
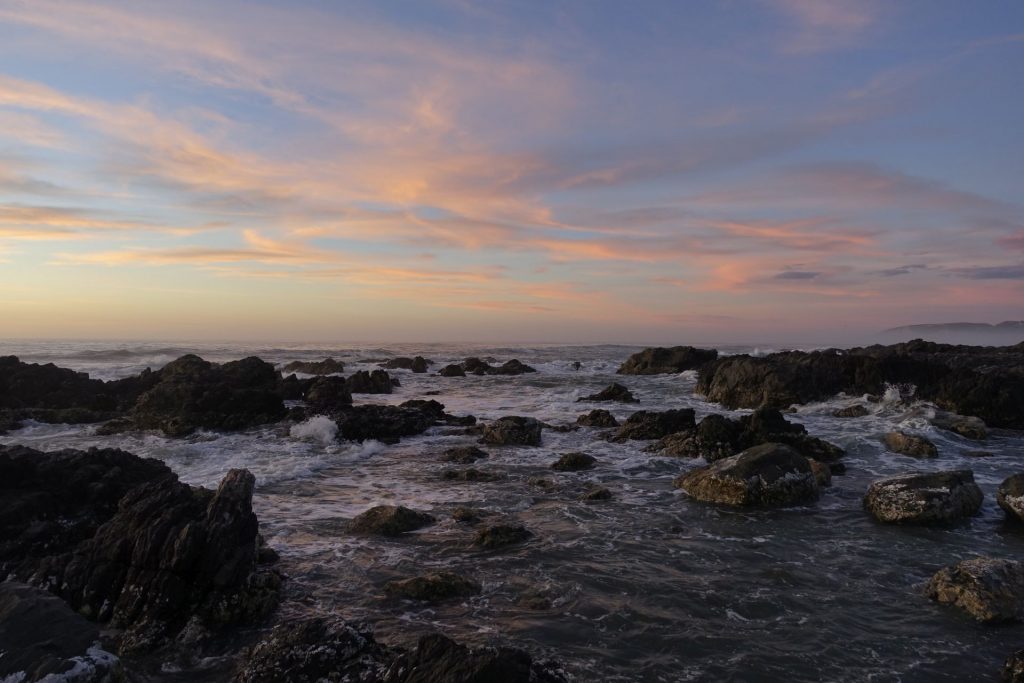
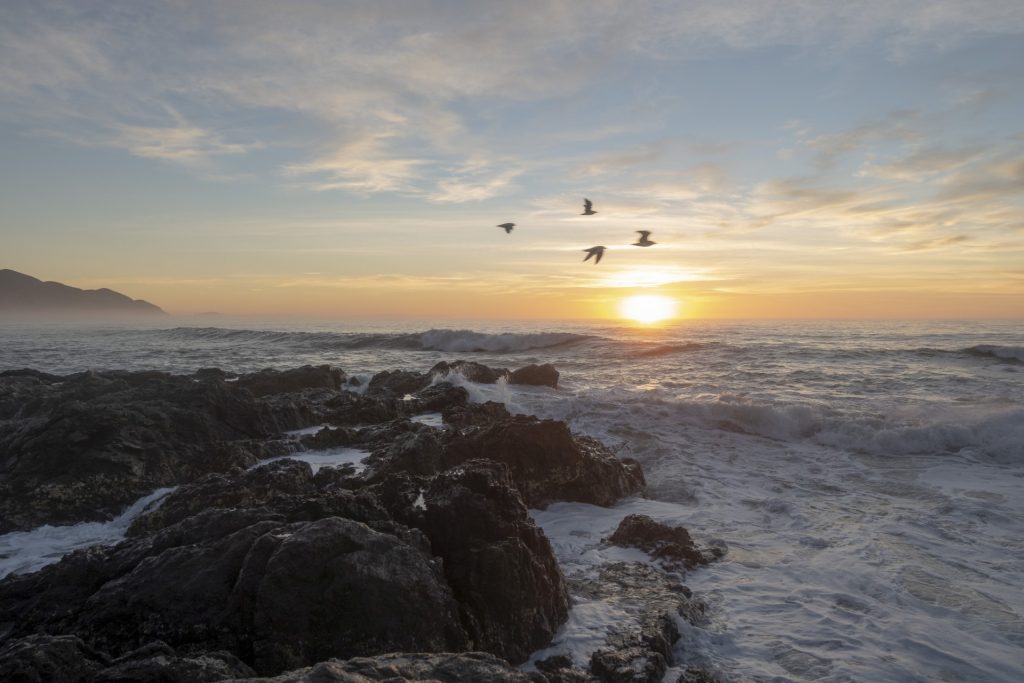
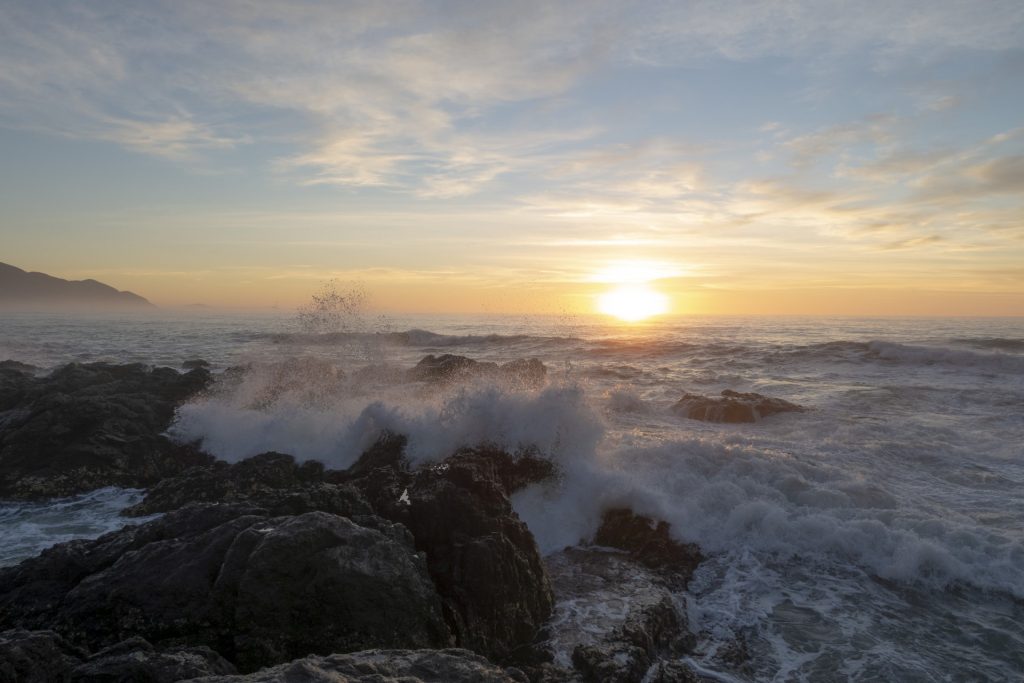
We camped at a small camping with lots of permanent trailers of fishermen. At night the sky was clear without light pollution and we got a good look at the milky way. In the morning we were met with a beautiful sunrise.

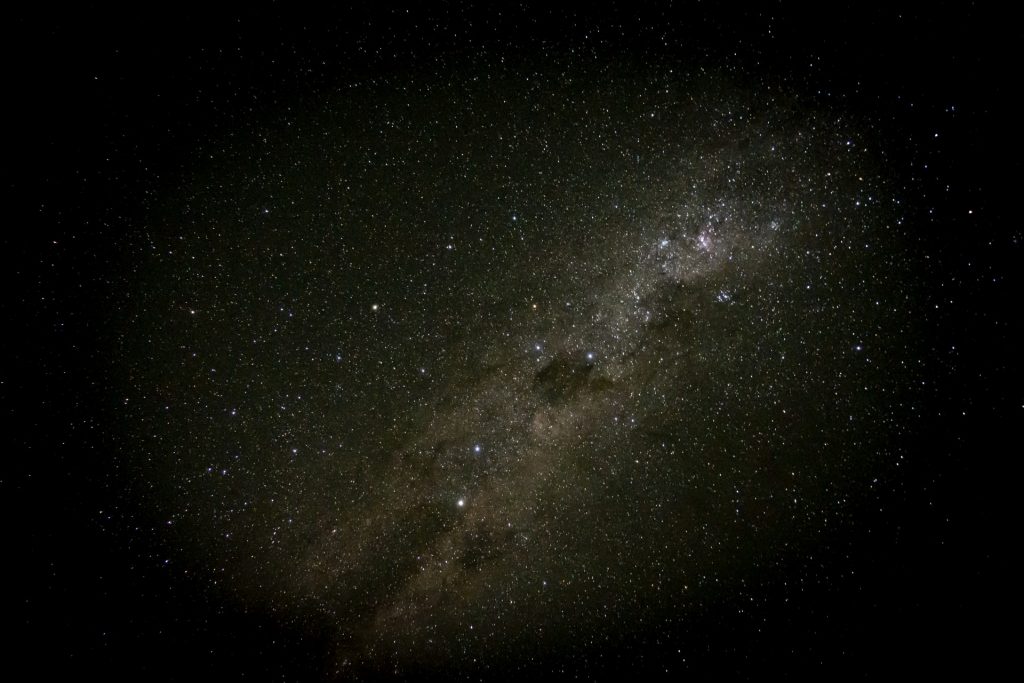
The milky way as seen from NZ 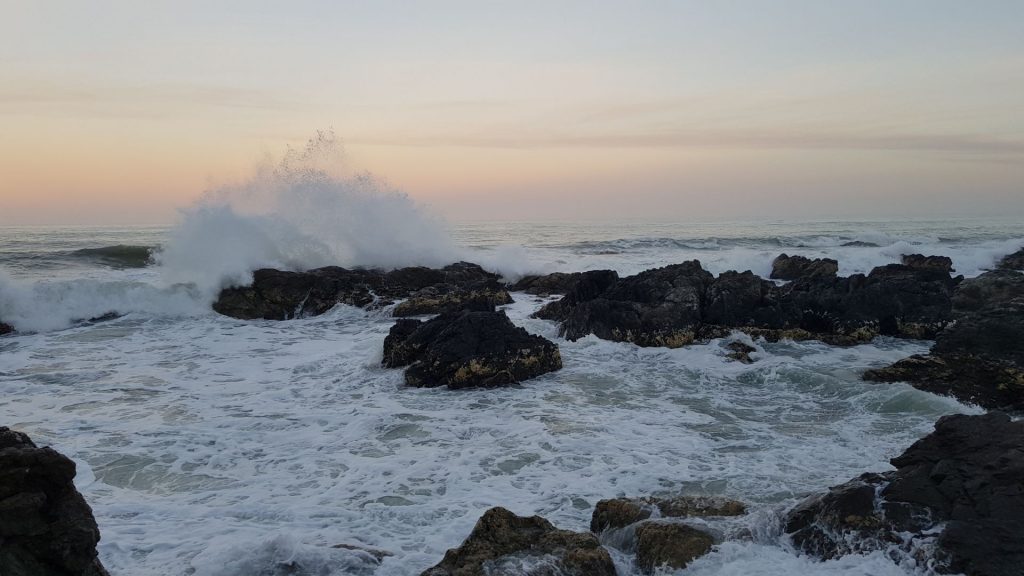


We walked around the Kaikoura peninsula, meeting several more seals.
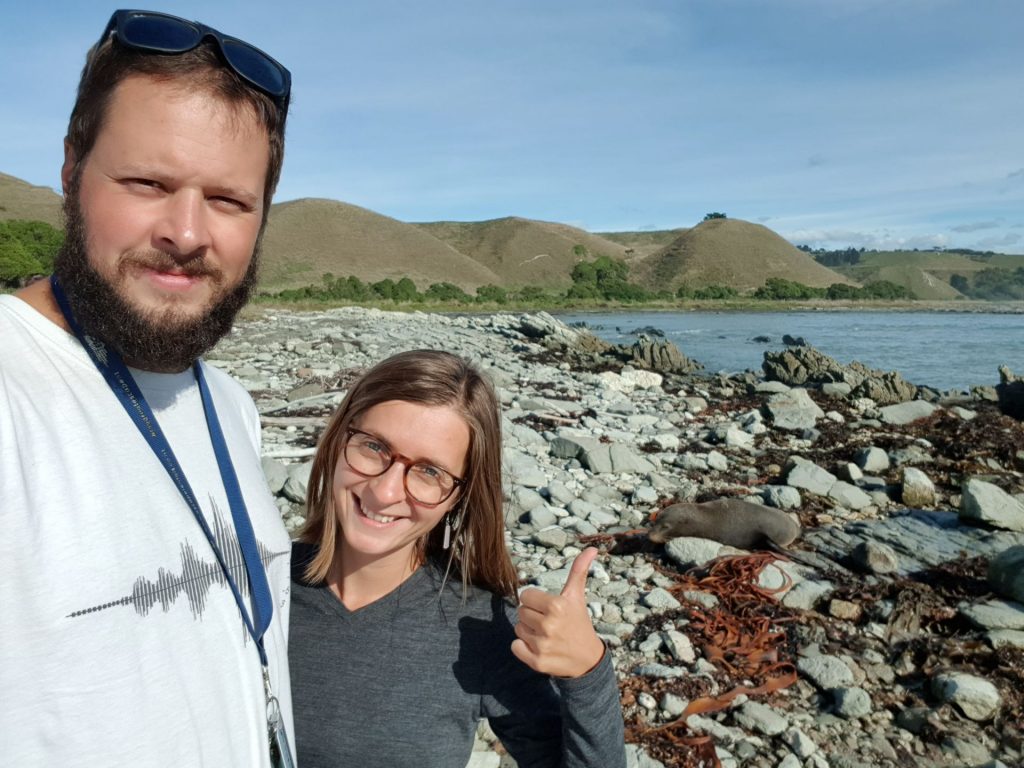
one seal is right behind us 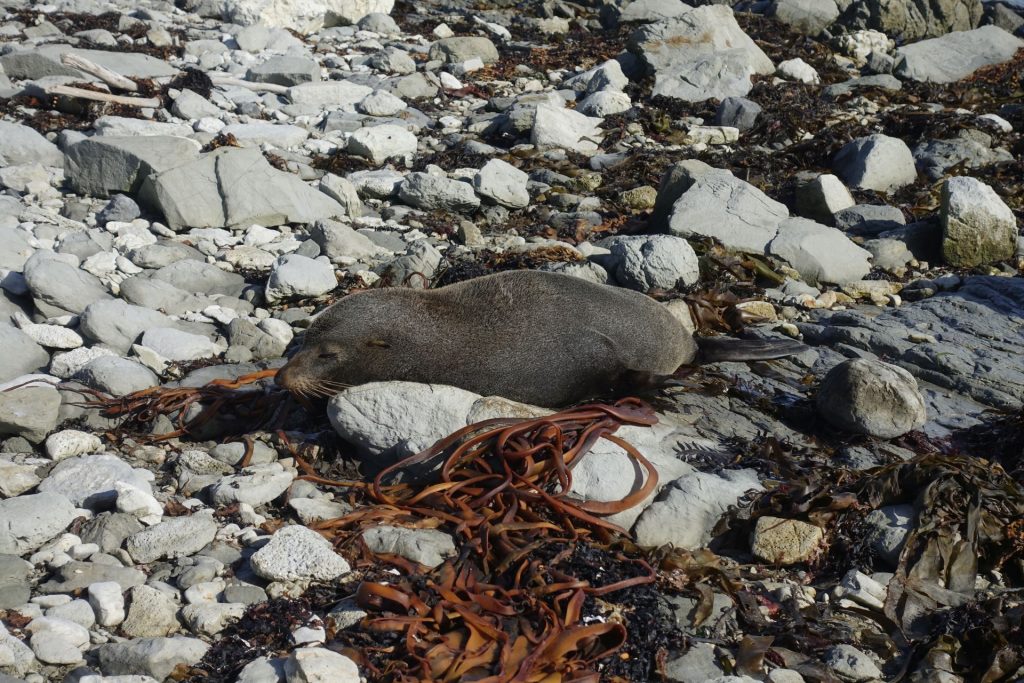


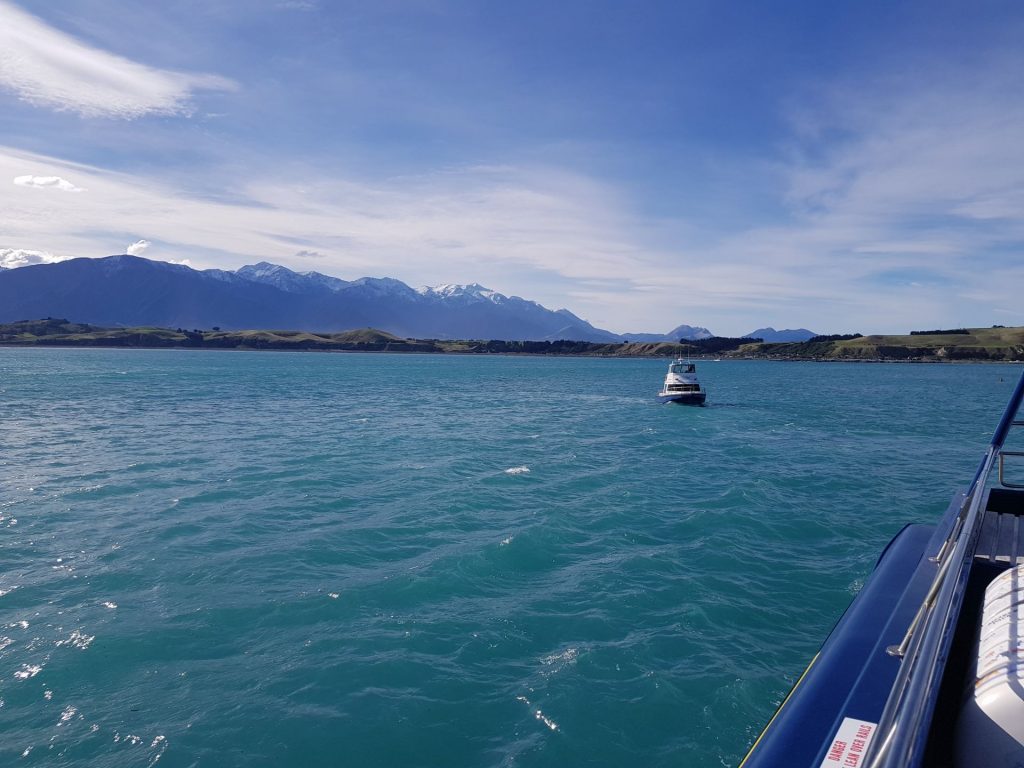
In Kaikoura you can also do whale-watching tours, where you and about 50 other people go out on a boat in the hopes of finding a sperm whale. The whales close to the coast of NZ are all male! This is because they have a thicker layer of blubber, allowing them so swim in colder waters. They’re also a bit territorial, so most of the time they’re alone. The female whales stay with the kids in warmer waters.
The boat sets course for the last GPS coordinates where a whale was spotted, and then everyone goes outside to have a look. The whales have a certain rhythm: they stay under water for about 30-45 minutes, and then they come up for about 10 minutes to breathe.
The whale spotter uses a directional underwater microphone to listen for the whale’s clicks. Everyone on board is quiet, waiting for a sign… looking at the horizon for signs of a whale blowing water vapor out of its blowhole.
The spotter can hear the whale clicking, and then suddenly the clicking stops. This is a sign that the whale is coming up to the surface! The first one to see it was the spotter 🙂
The picture below is a 360 photo, click and drag to look around, scroll to zoom!

Albatross racing across the surface 
The whale shows itself! 


Bye!
“Sperm” whales are called that way, because the first fishermen that found them, when cutting open the whale, they found a large amount of white oily stuff in the whale’s head. Their logic was of course that it was sperm (in the head, duh!). But it’s hypothesized that this oil is their way of buoyancy control! The whale can solidify the oil, increasing its density, making it sink easier. To make it liquid again, the whale circulates warm blood around the oil, making it liquid and larger, decreasing its density, which makes it float. Crazy mechanism, and because it’s using a solid/liquid as opposed to a gas like air, it can withstand the huge pressures under water. This is what they told us on the boat at least, but Wikipedia says this theory is not fully proven…
The whales use echolocation with their clicks, which can be as loud as 230 (!) dB!!! For reference, decibels are a logarithmic scale, so that means this is 10 BILLION times more power than the sound of a jet engine!!! This is enough to even stun or kill prey.
The boat tours can’t guarantee that you see a whale. Sometimes there are two, but most of the times a boat only sees one whale. In our case, they didn’t hear any others around, so we went back closer to shore, hoping to spot some acrobatic Dusky dolphins. And we were lucky to get quite a show.
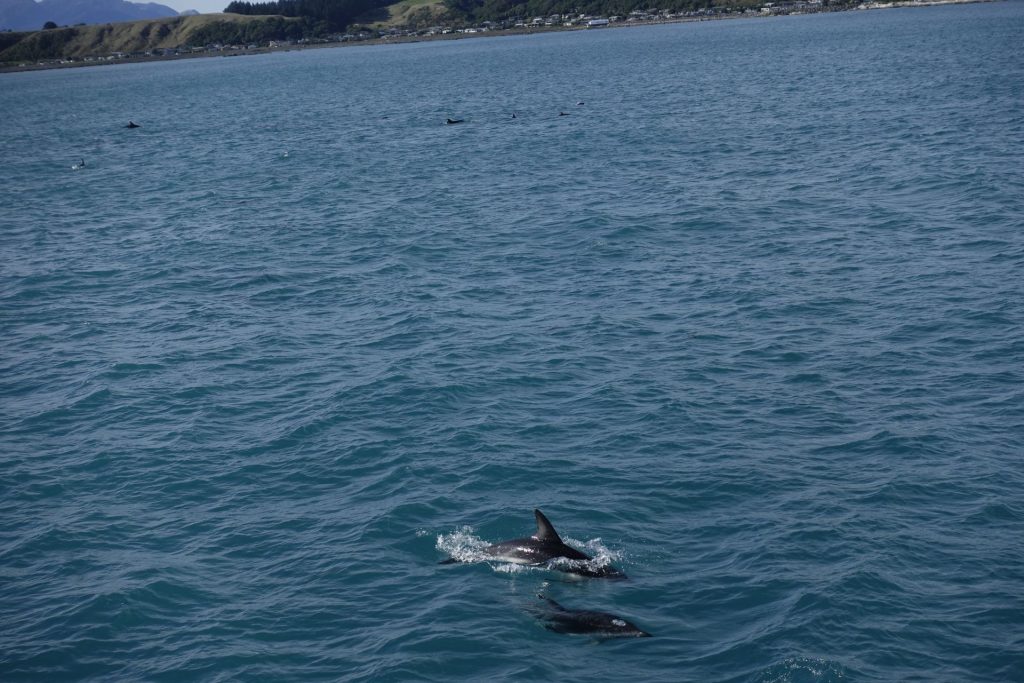
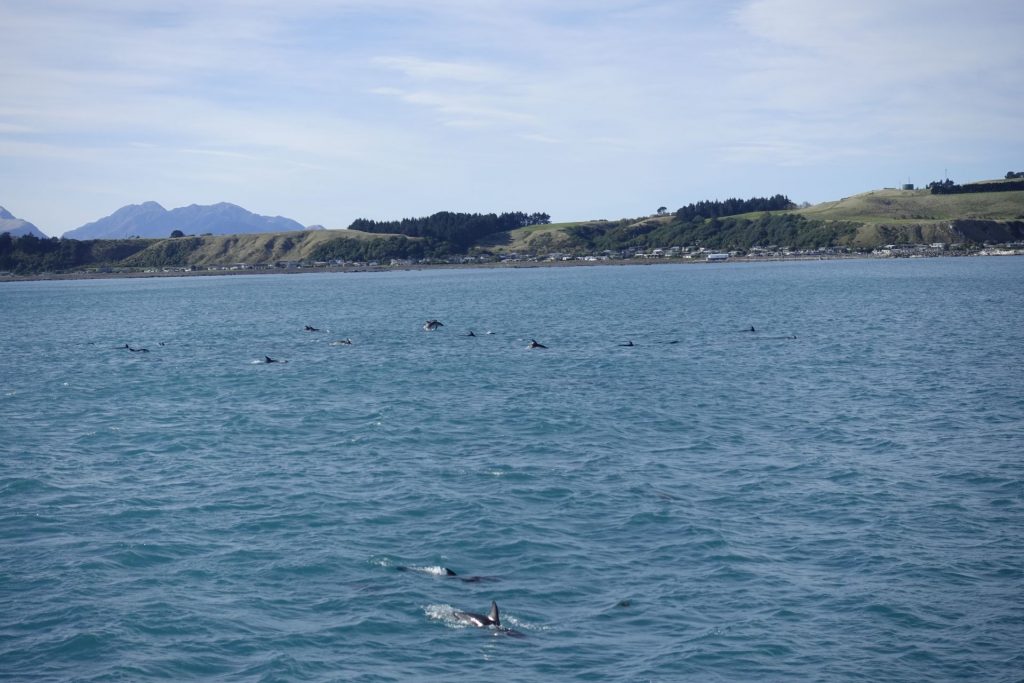

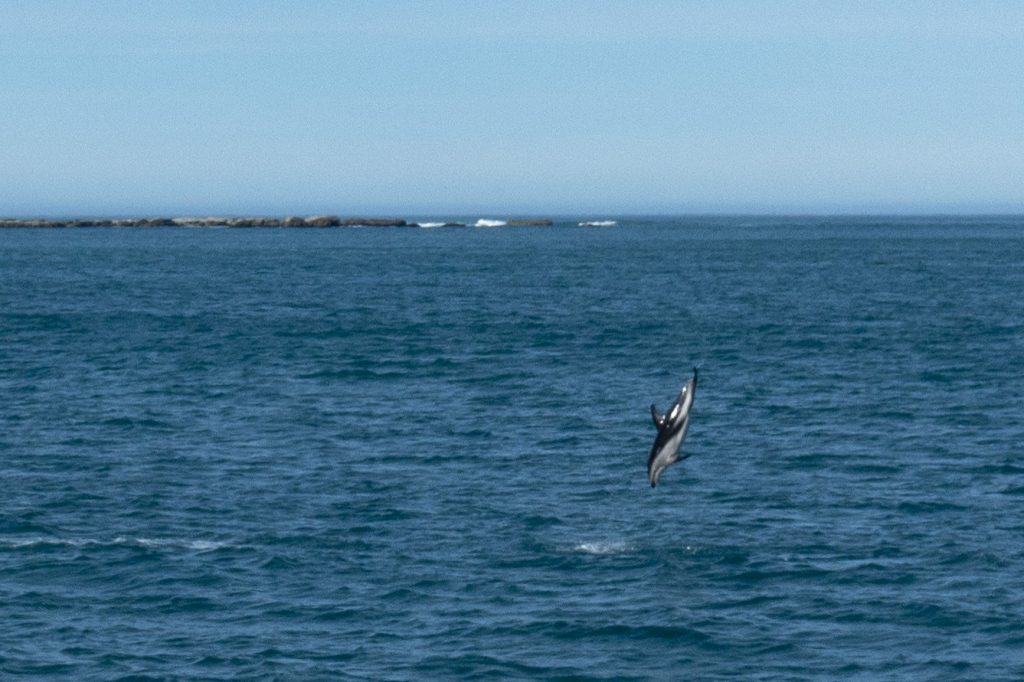

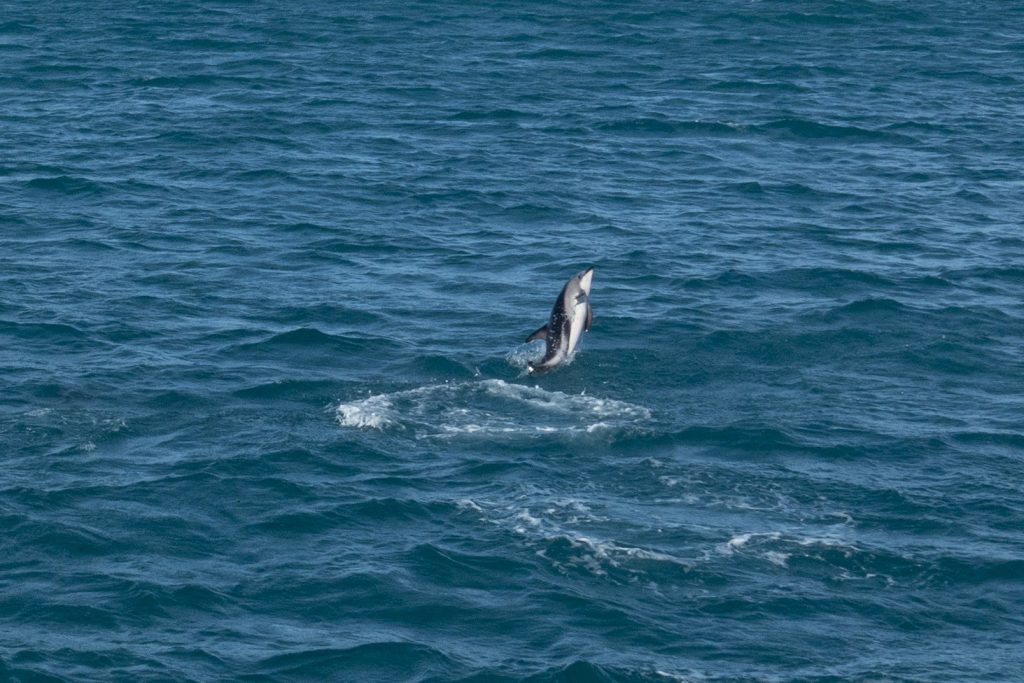
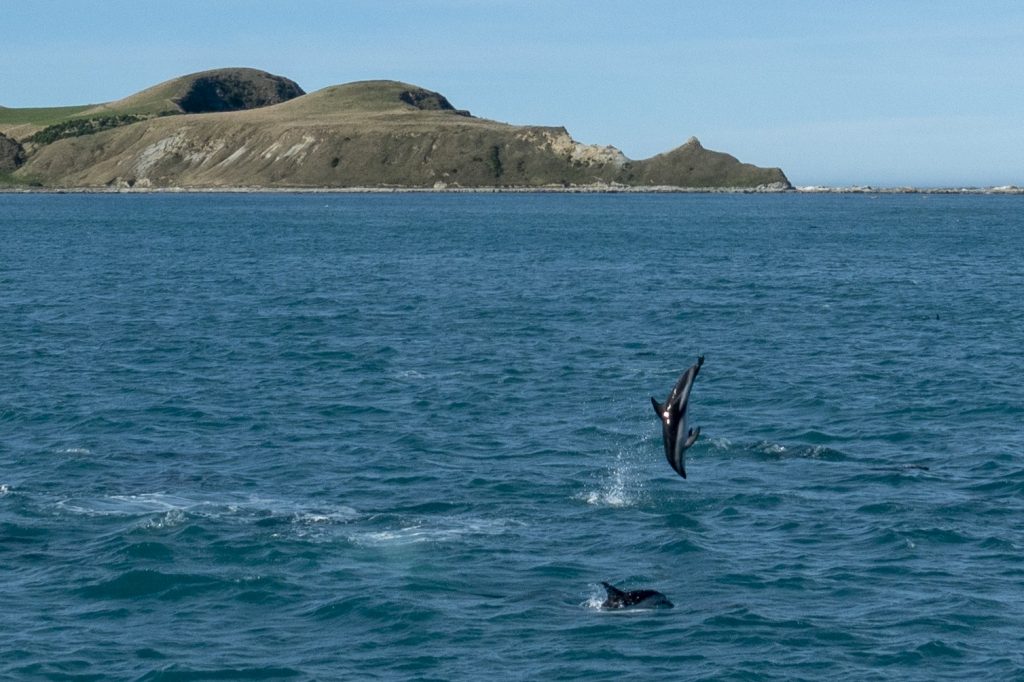
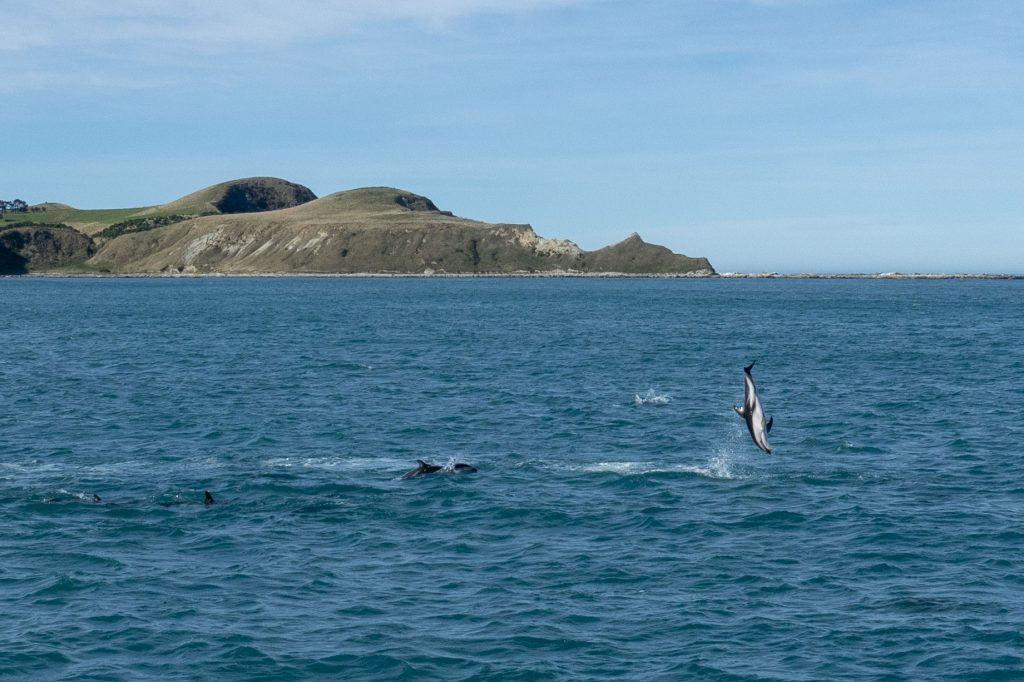
Dusky dolphins are known to be very acrobatic. It’s a learned behavior, so when they get born they can’t do it yet. The guide on the boat explained that it was a form of showing off to the females. When you see a lot of flips one after the other, usually it’s the same dolphin having a blast.
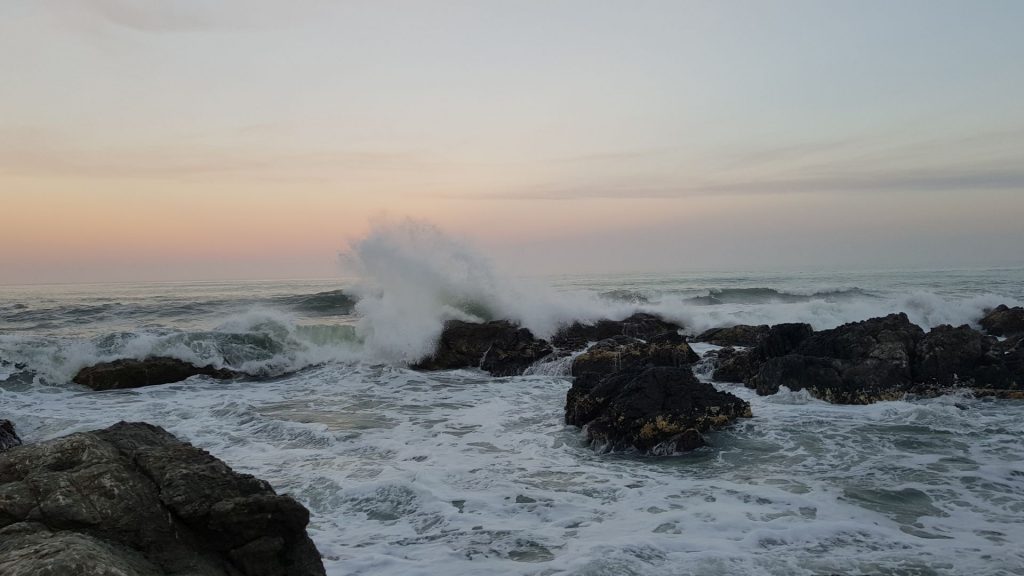
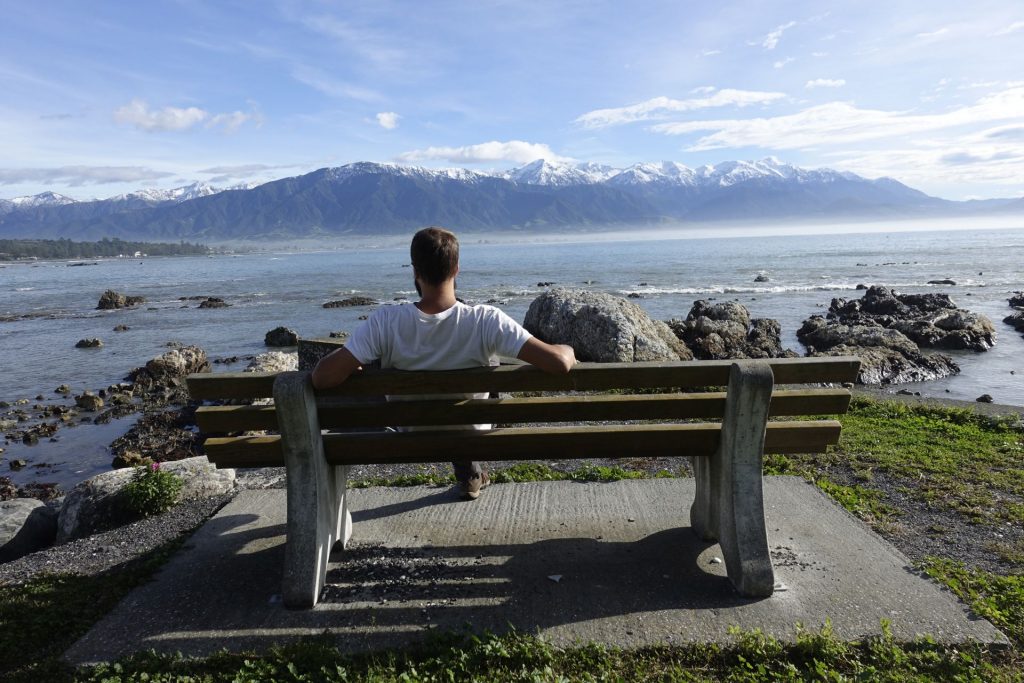
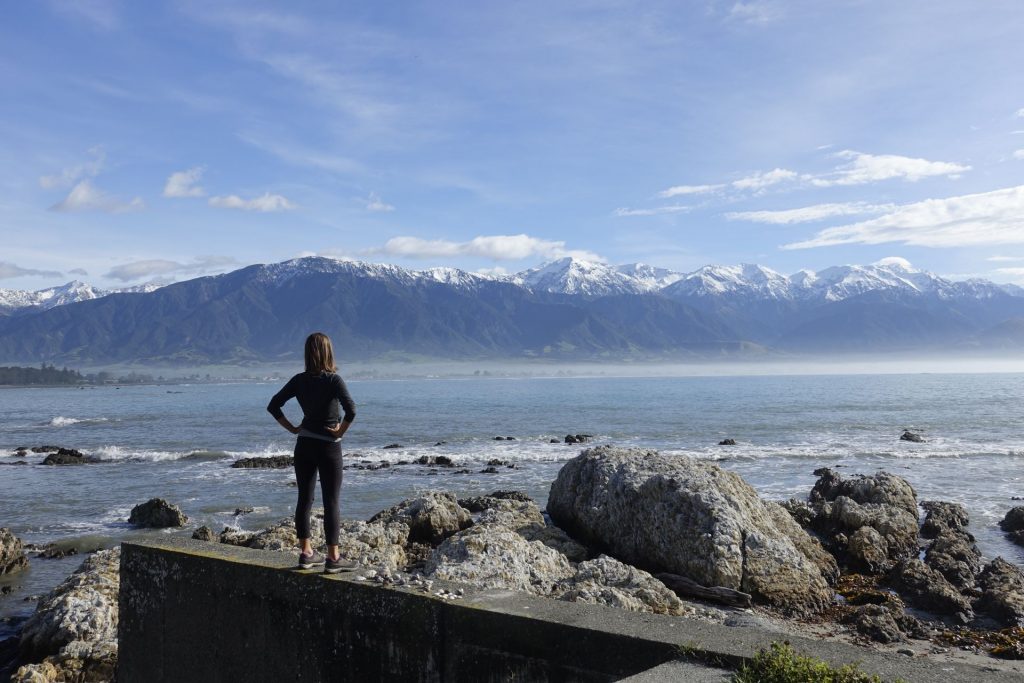
Back in Kaikoura, we had ample time to do another walk along the coast. We hiked up a cliff with a beautiful view from above on the seal colony below.
For the route back we decided to go low across the beaches, but the seals disagreed with our plan! They were blocking us on several roads, and they got angry! We tried to pass them silently but they acted too aggressive and we were forced to double back via the hill. You’d think they’re cute honey-buns but they’ve got huge fangs and a mighty roar.


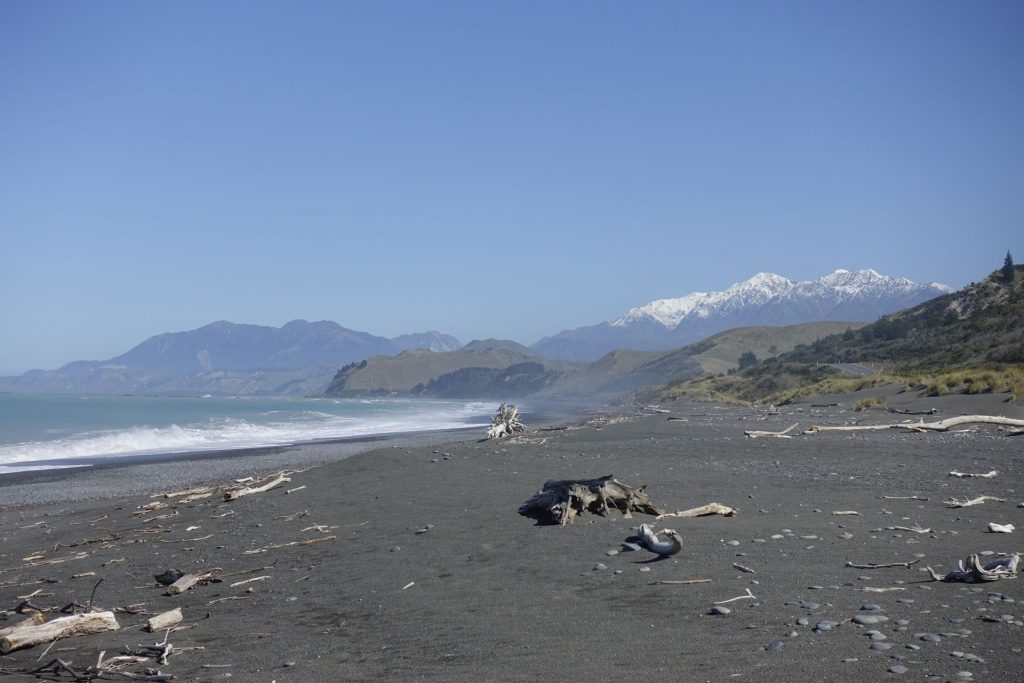
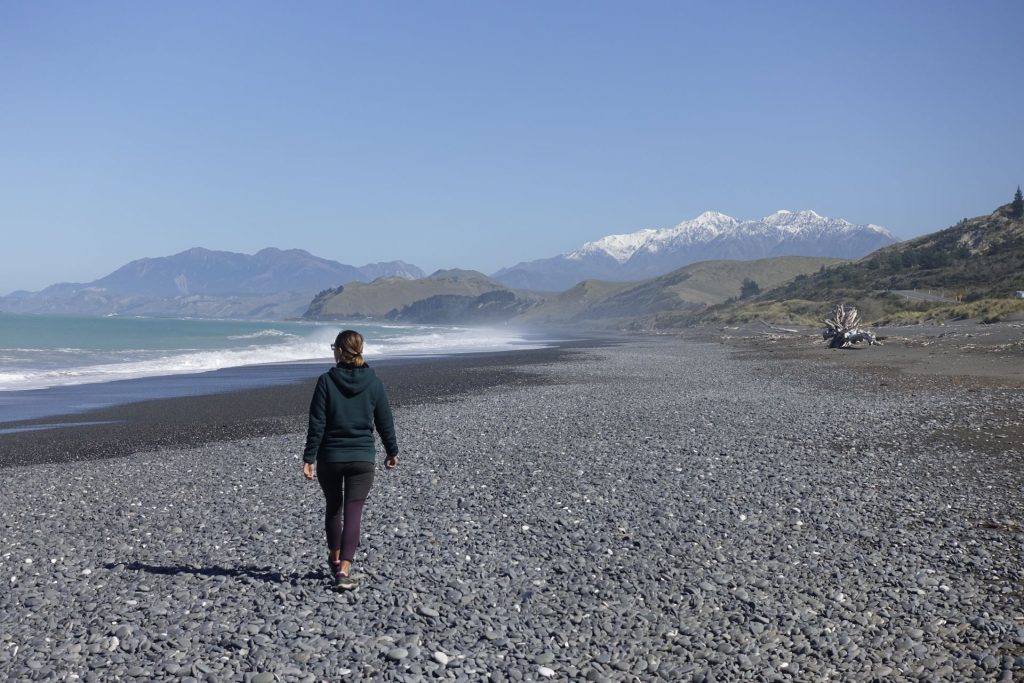
Stage 2: Kaikoura to Mount Cook
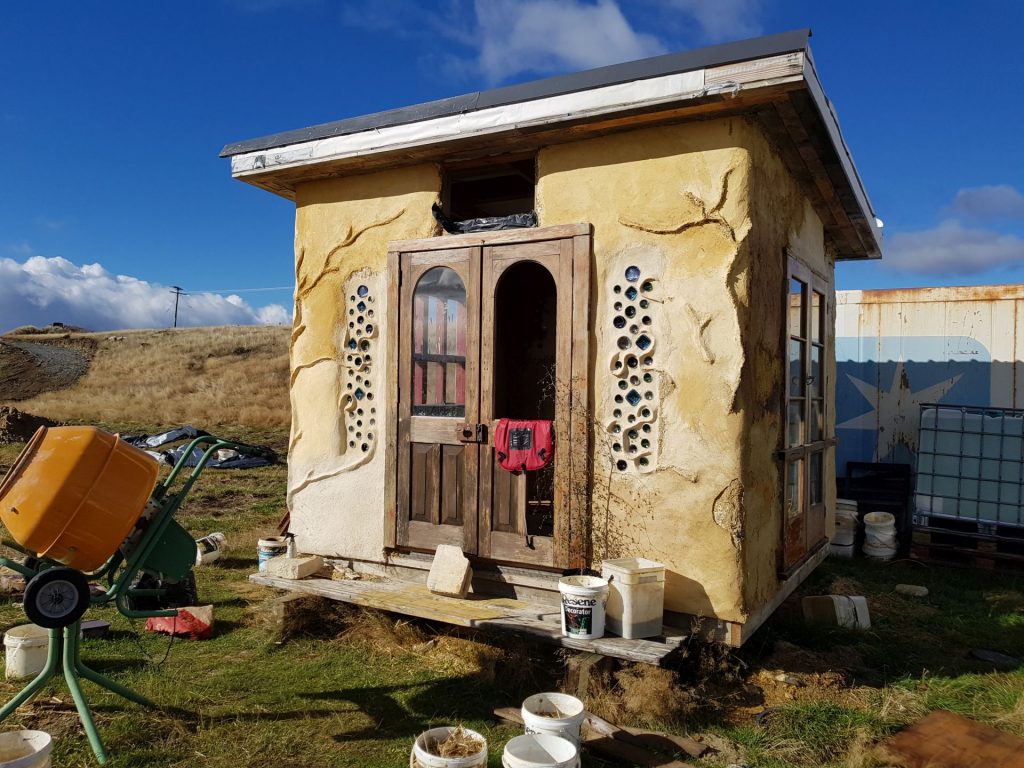
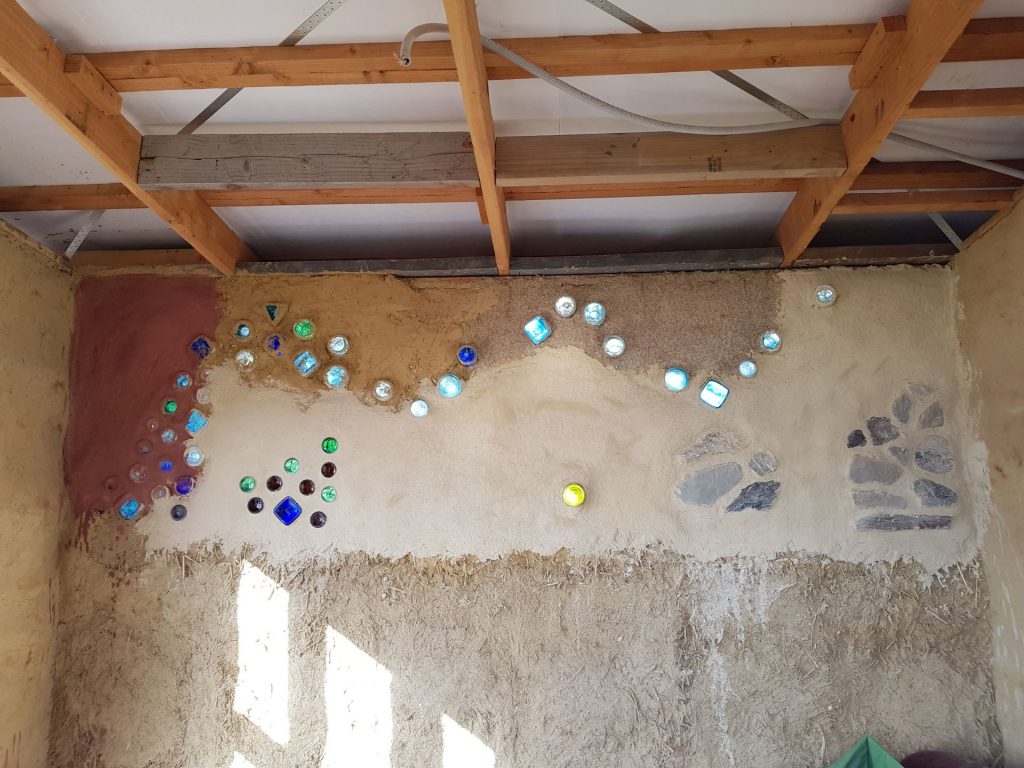
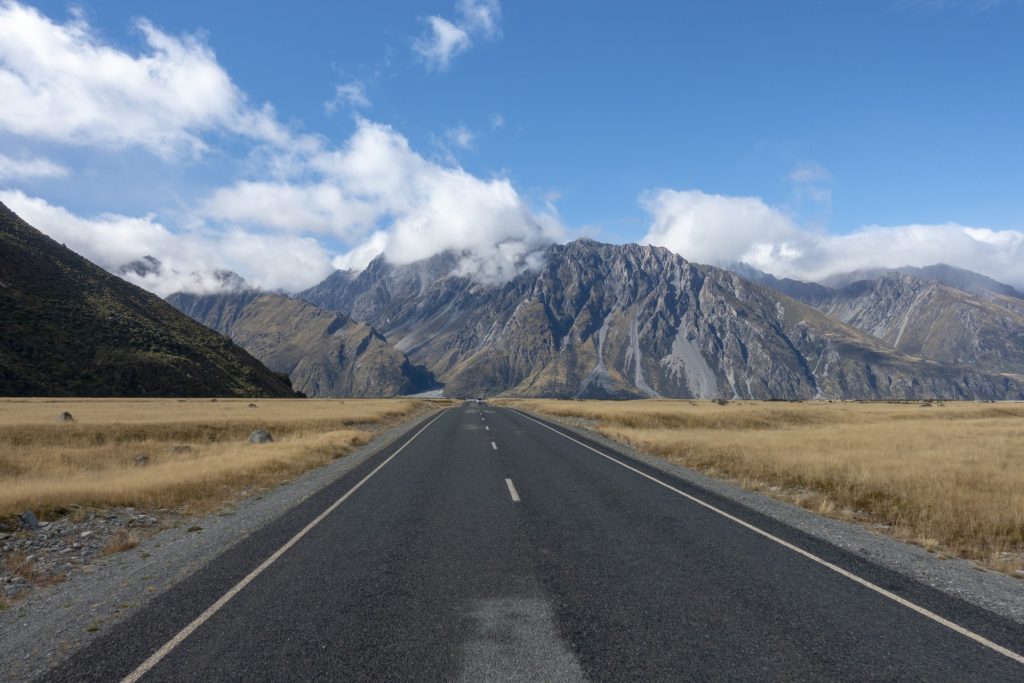
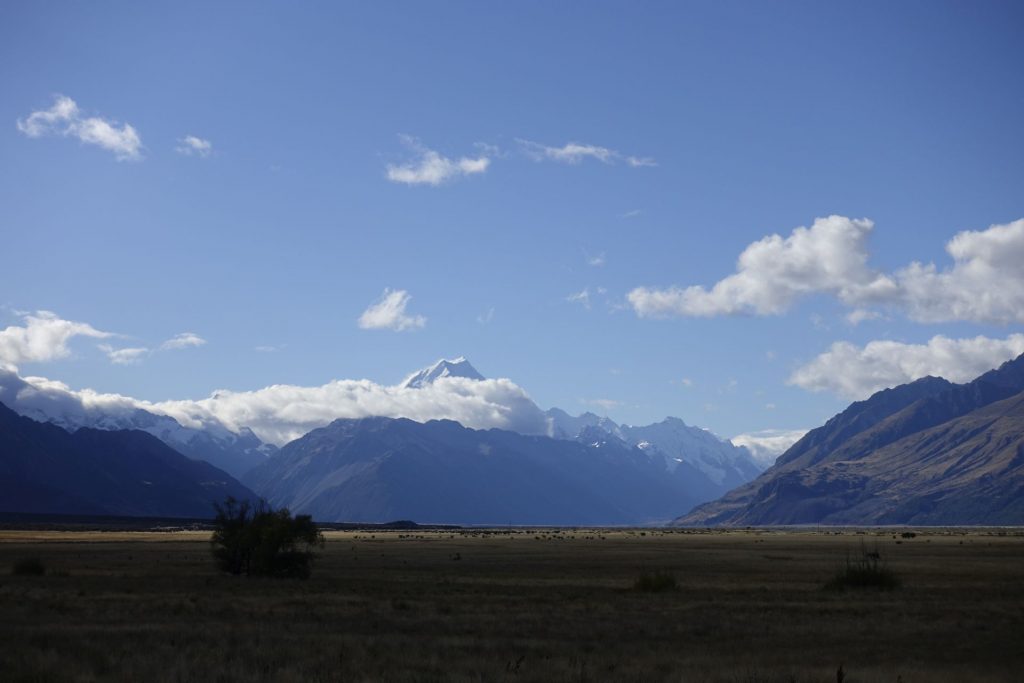
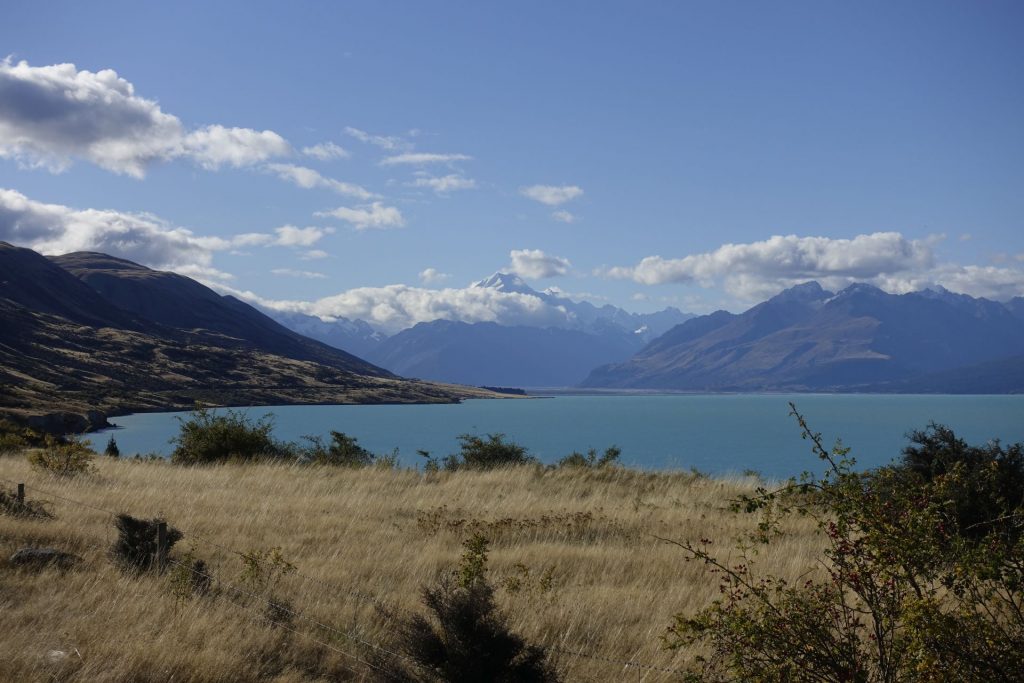
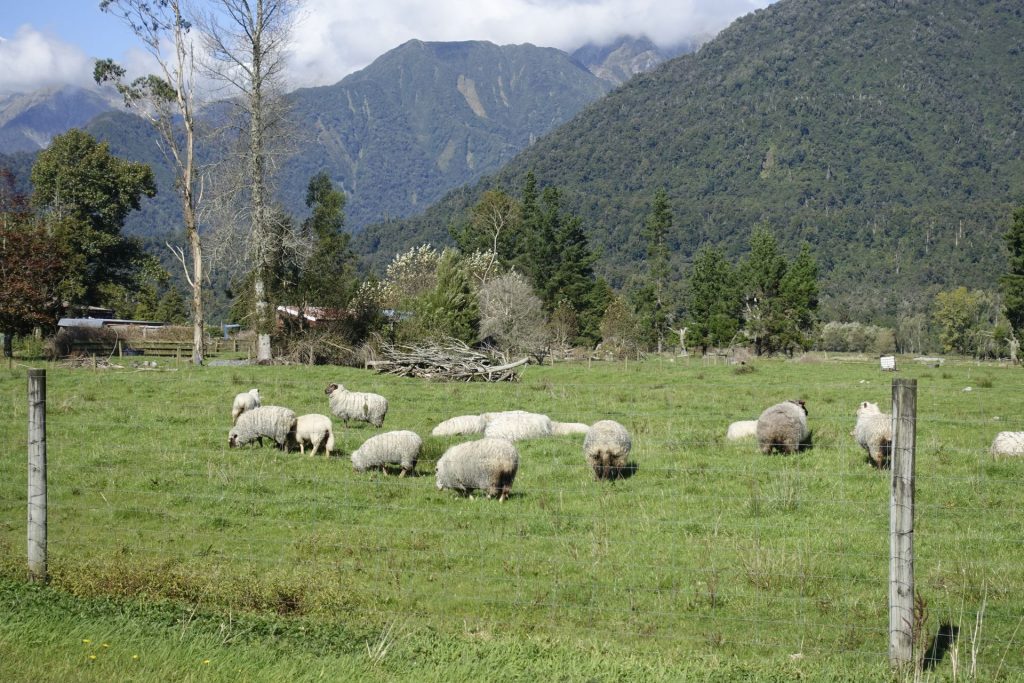
Then we drove to see the highest mountain in New Zealand – Mount Cook or Aoraki (3,724 m). From Kaikoura to Aoraki we passed a small eco-camping site in Twizel where we were the only guests. They were still in construction, but the first results looked promising: earthship-like small houses made of recycled materials, beautiful!
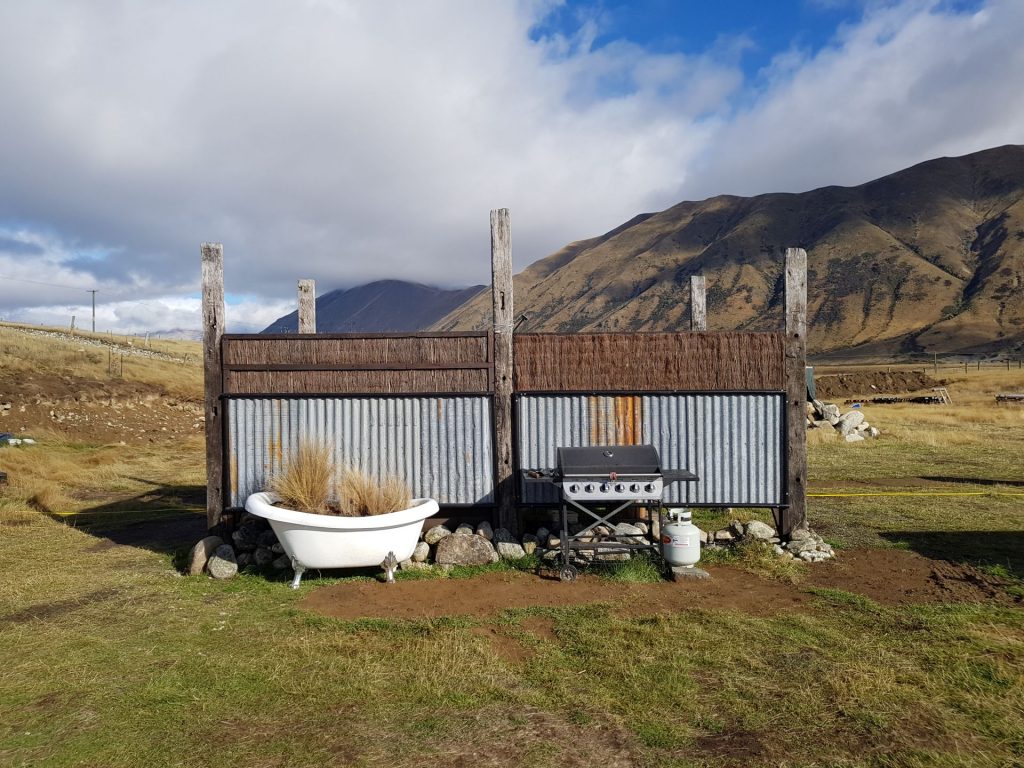
The toilet and shower were in open air with just a fence around it.
The picture below is a 360 photo, click and drag to look around, scroll to zoom!

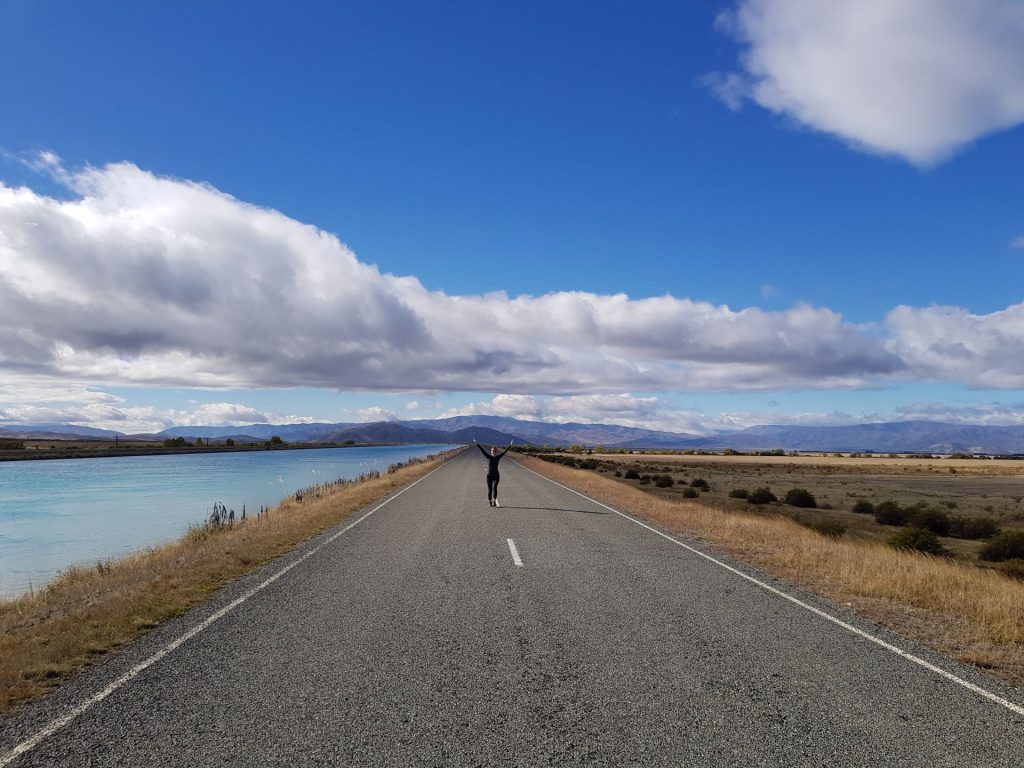
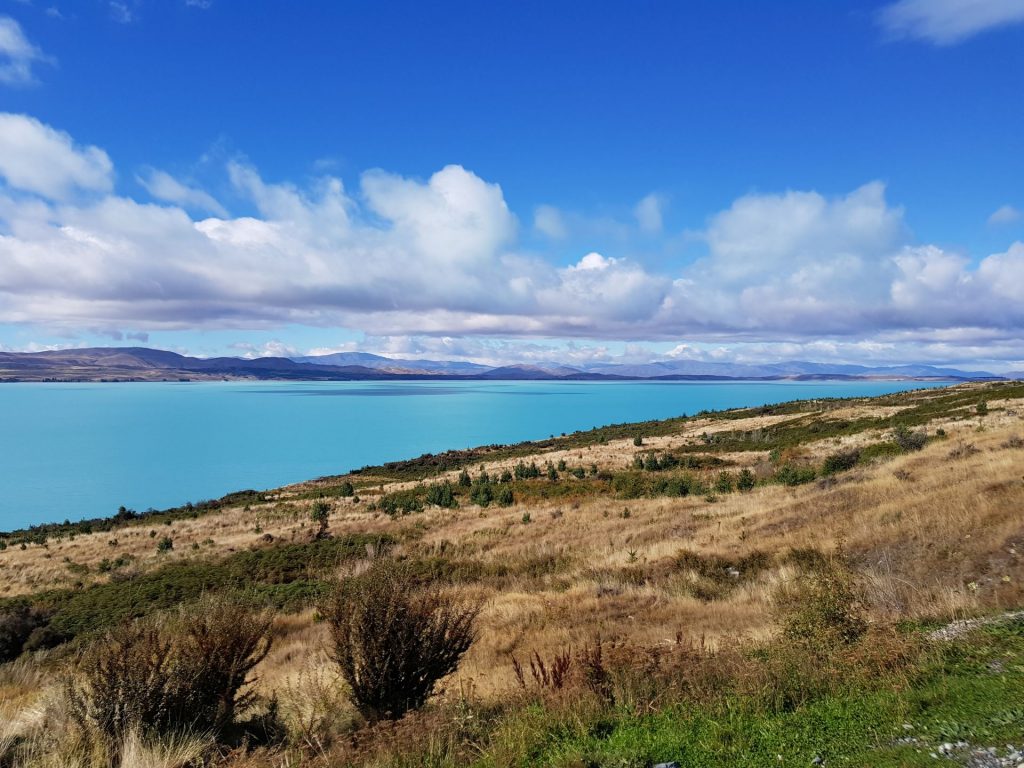
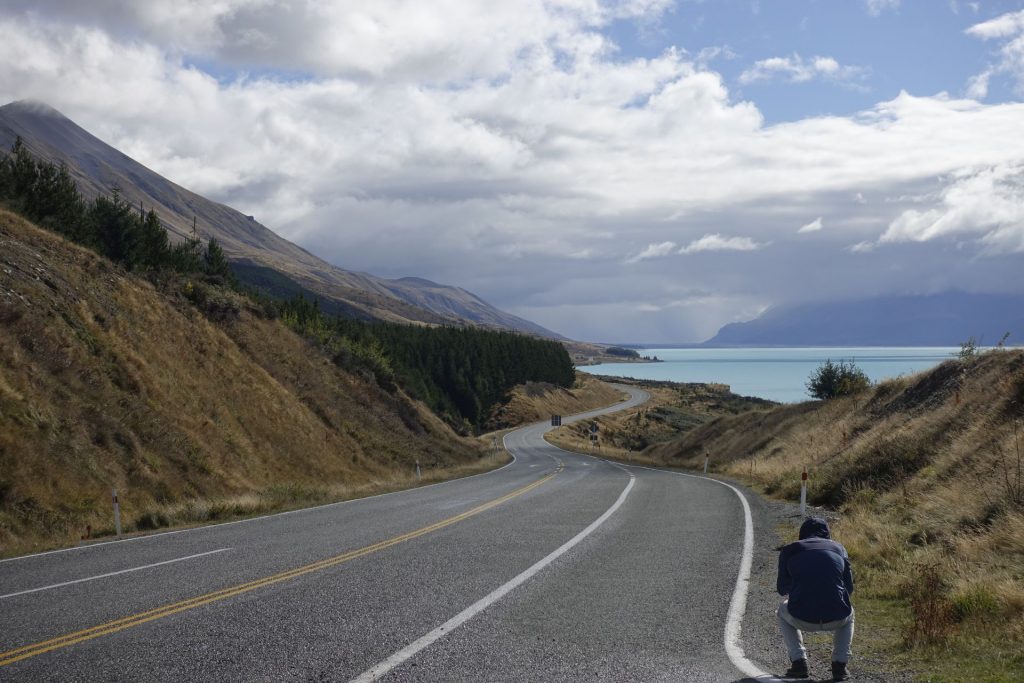
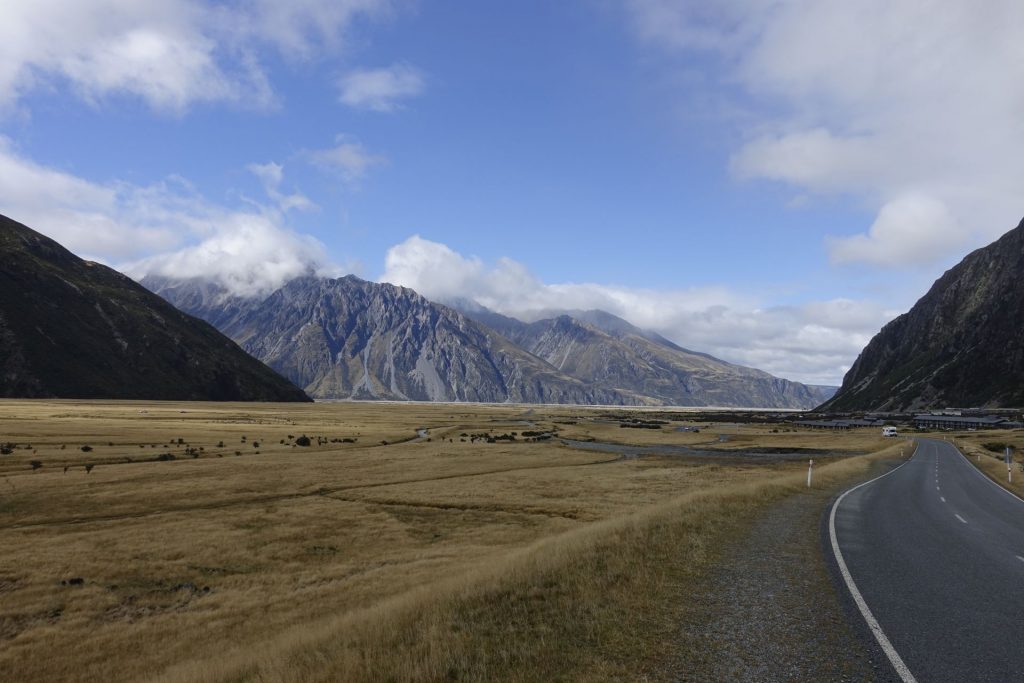
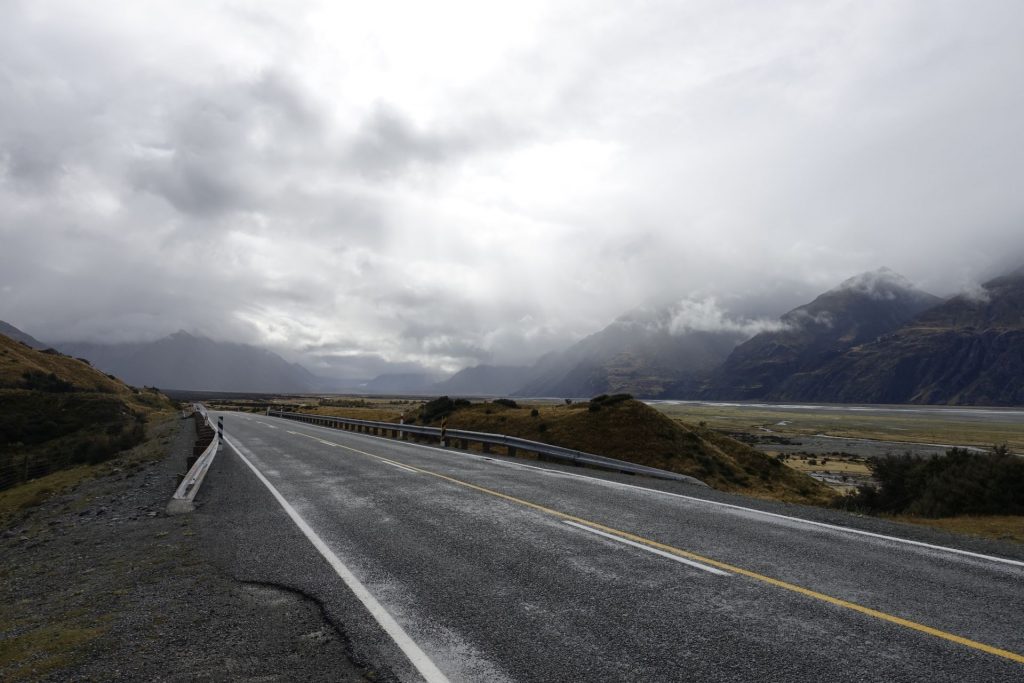
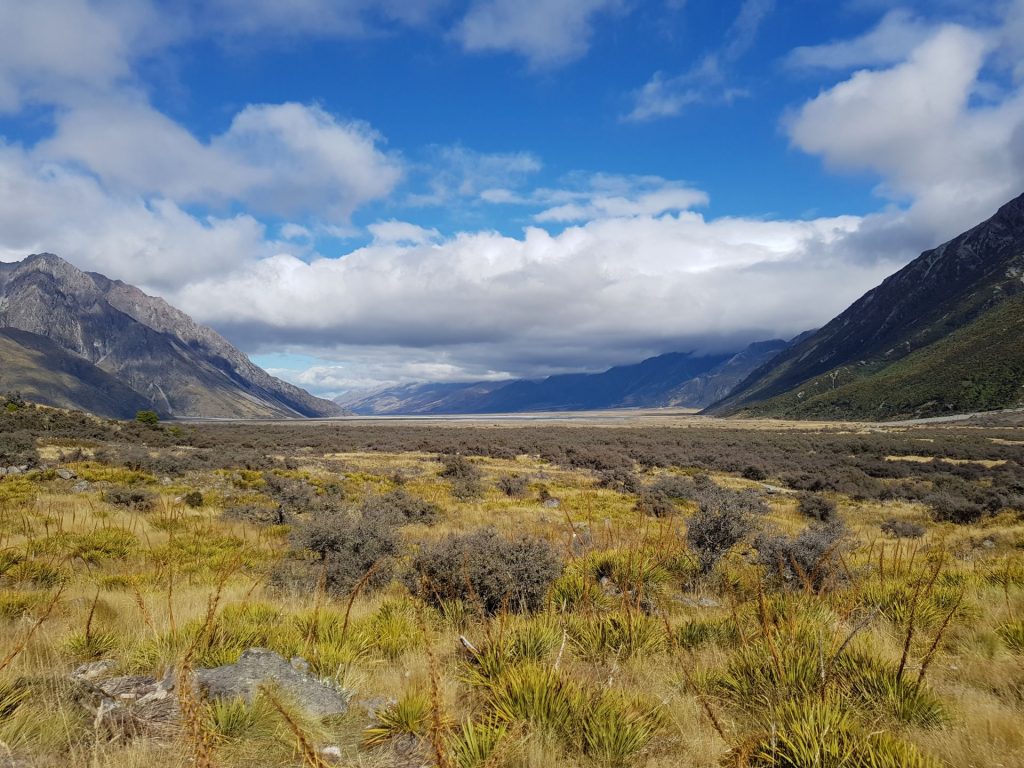
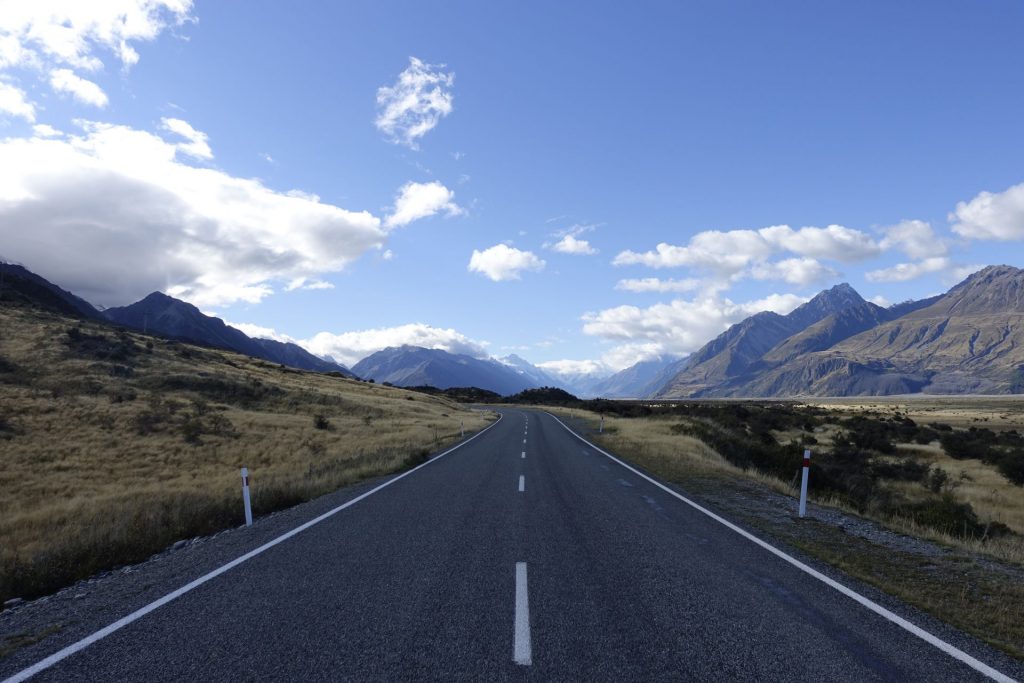
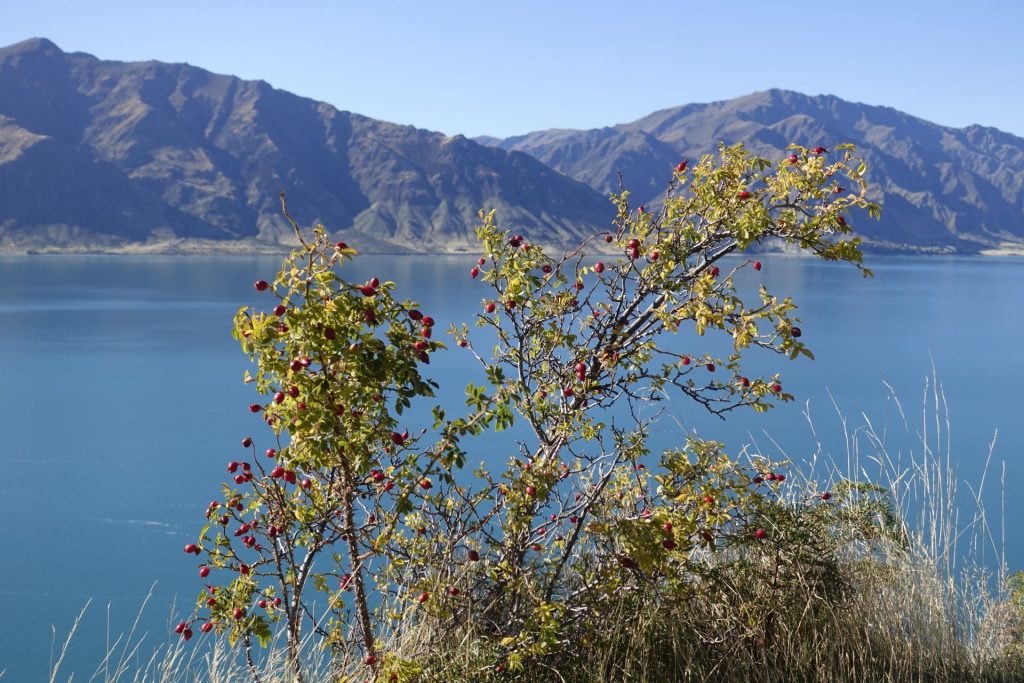
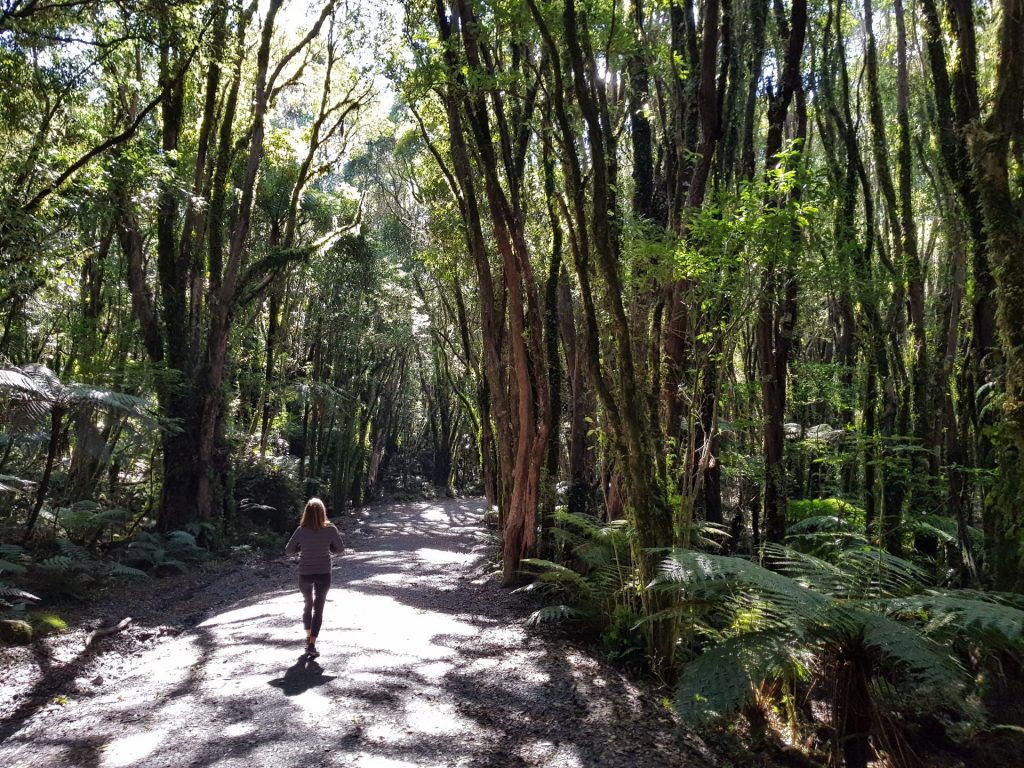
You might say that we rushed New Zealand, covering 3000 kilometers in just two weeks, and while it’s true that we wished to stay a bit longer, the drive in itself is just absolutely beautiful. It reminded us a lot about Norway.
The picture below is a 360 photo, click and drag to look around, scroll to zoom!


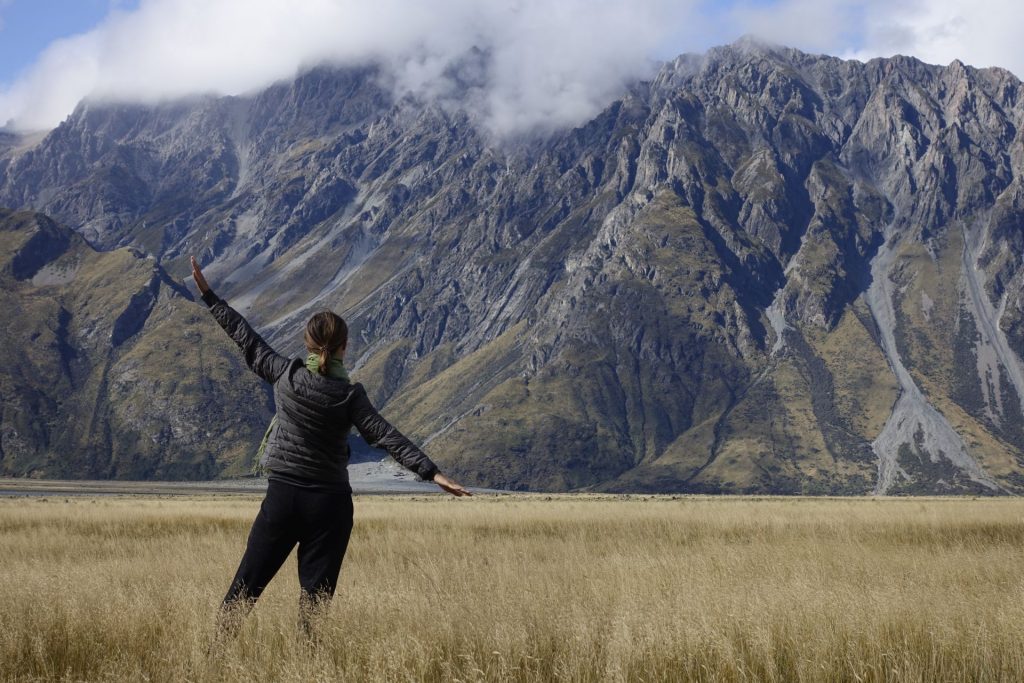
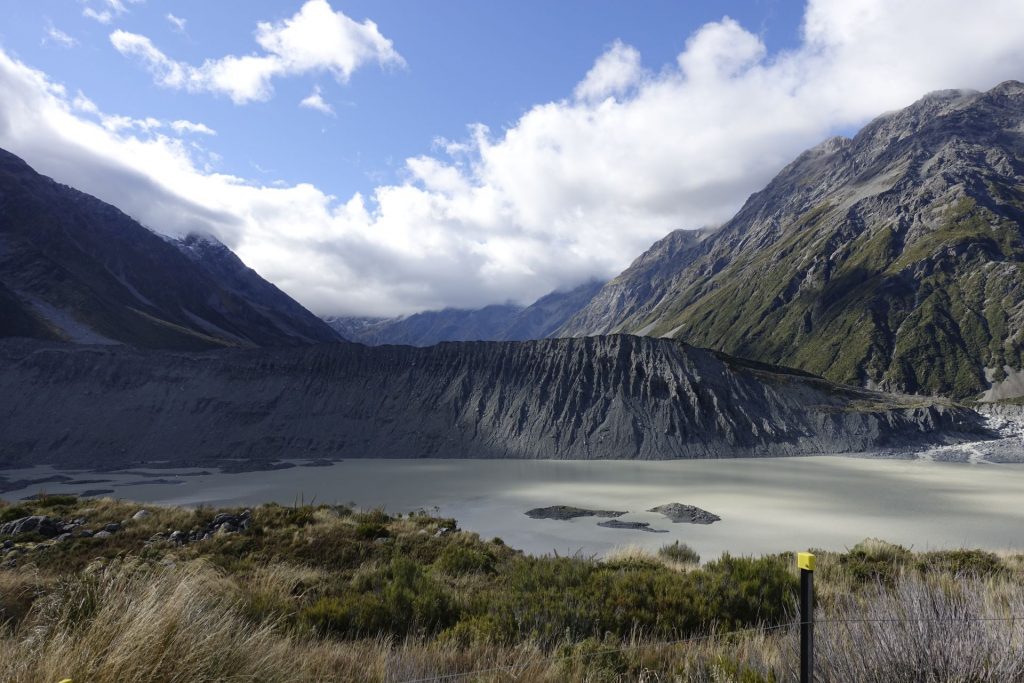
In Mount Cook Village we visited the touristic center to get an overview of the different walks in the region. We did two different walks(Moraine walk and Tasman Lake), but they were both a bit underwhelming. The main popular walk, the Hooker Valley track was not possible to do because of a bridge collapse (something we would encounter again at Fox and Franz Josef glacier…).
The picture below is a 360 photo, click and drag to look around, scroll to zoom!
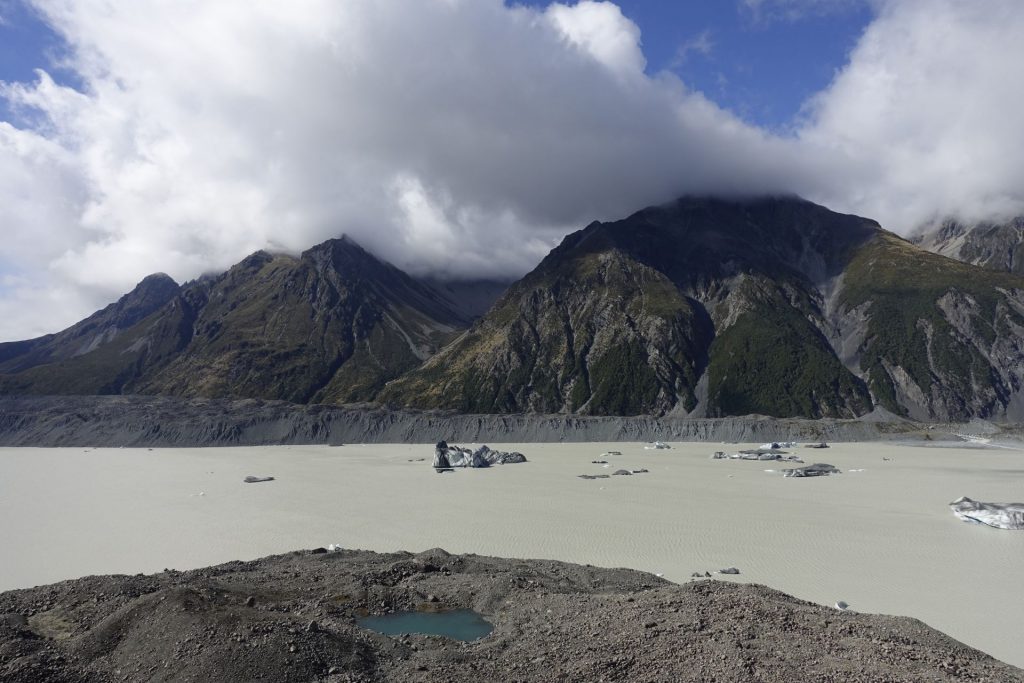
dirty icebergs on Tasman glacier lake 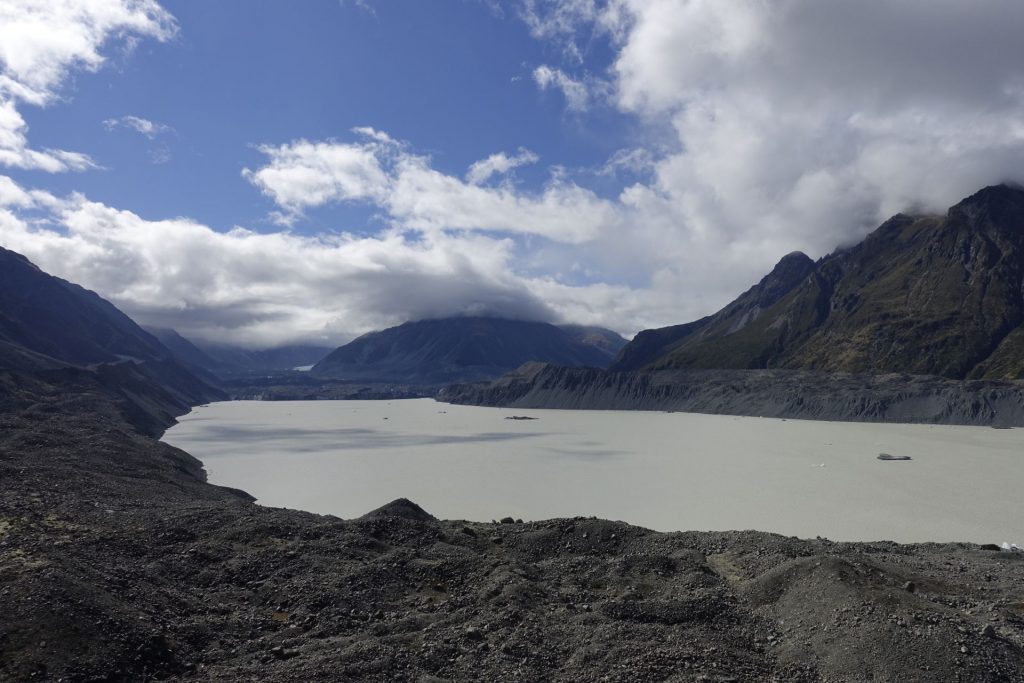
Where’s the glacier? …it’s black out there, that’s what’s left of it. 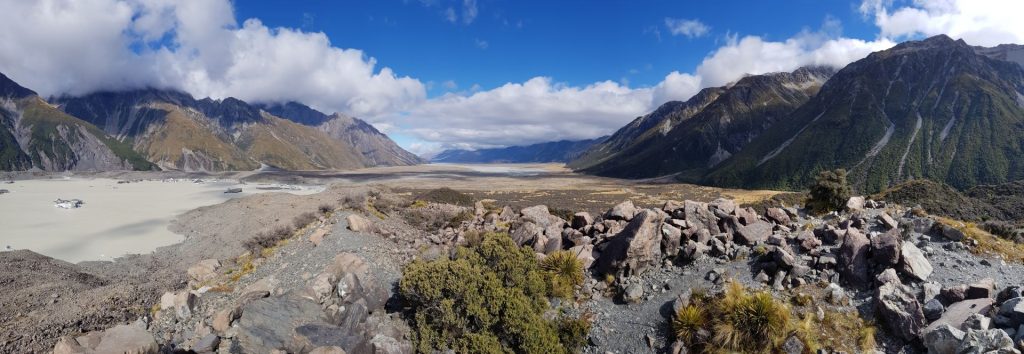

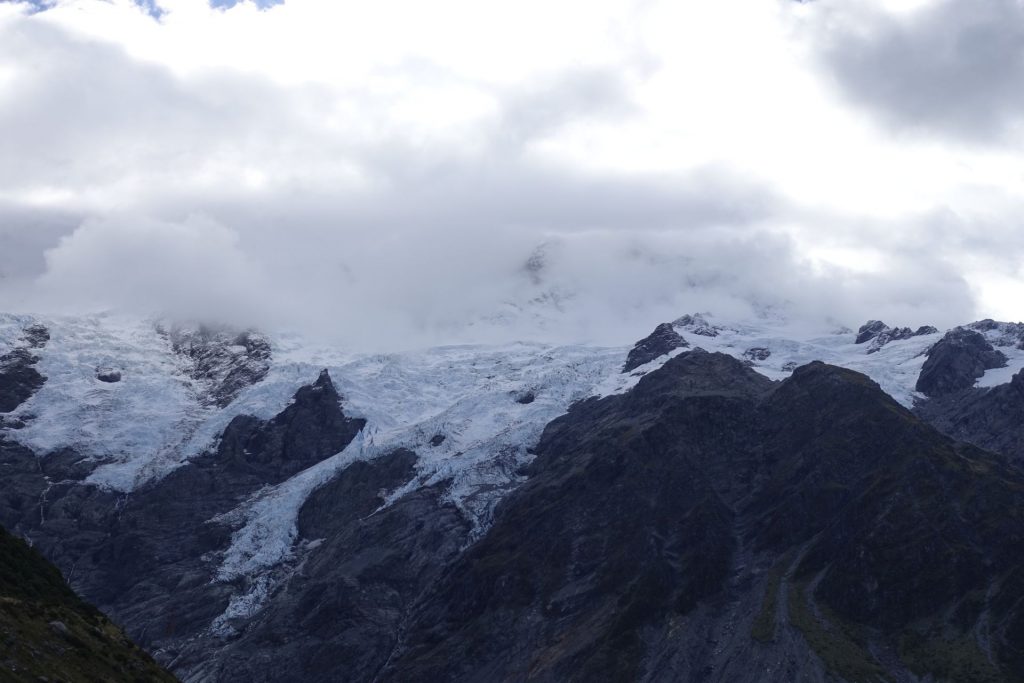
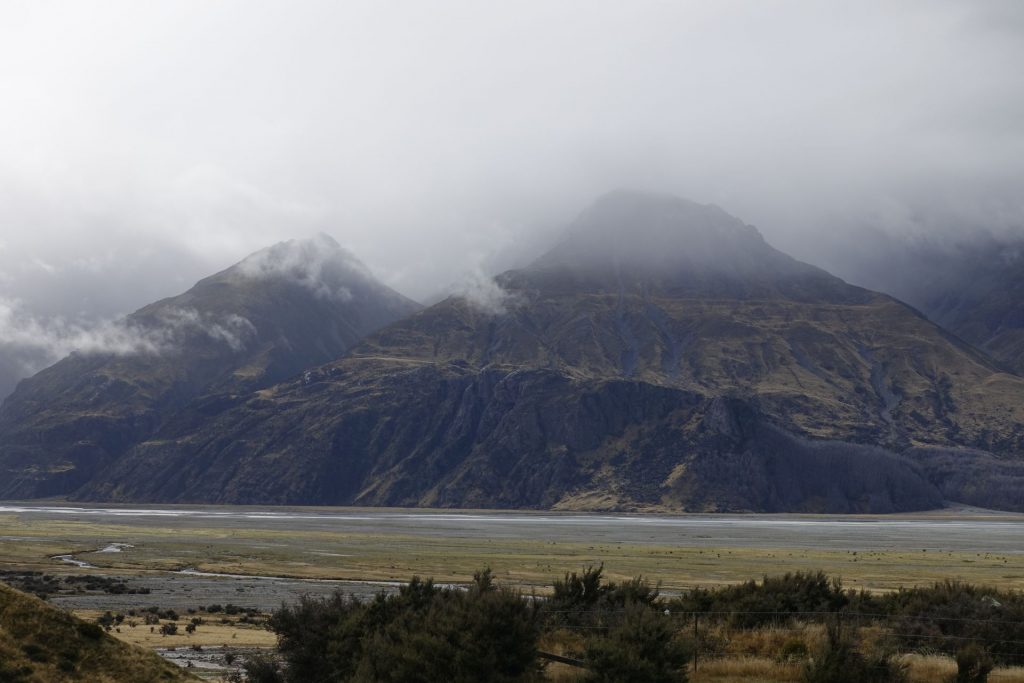
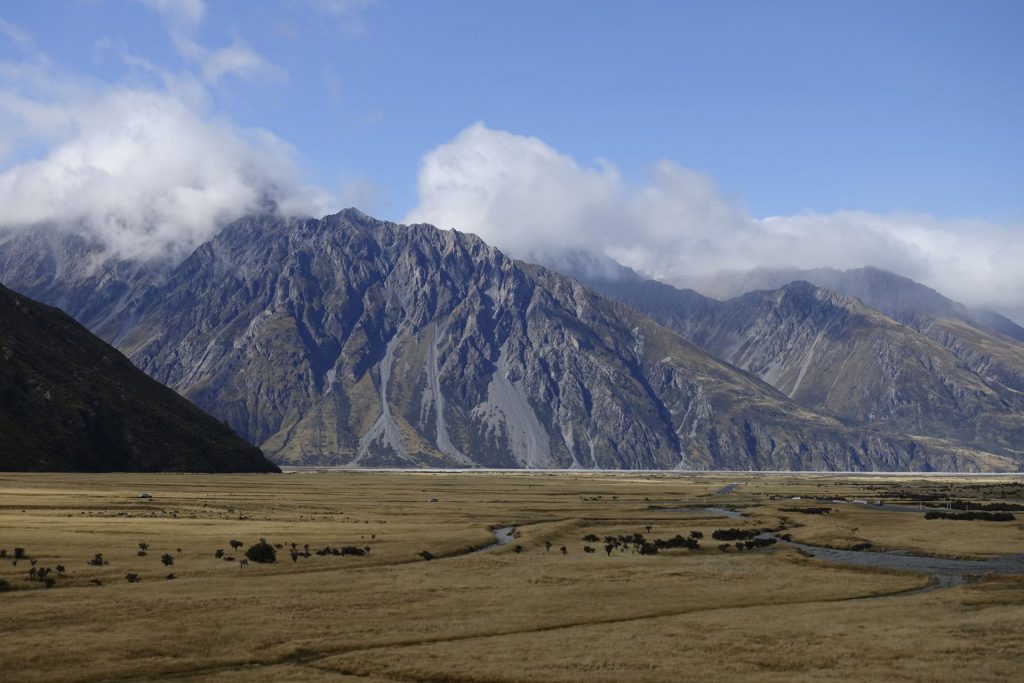
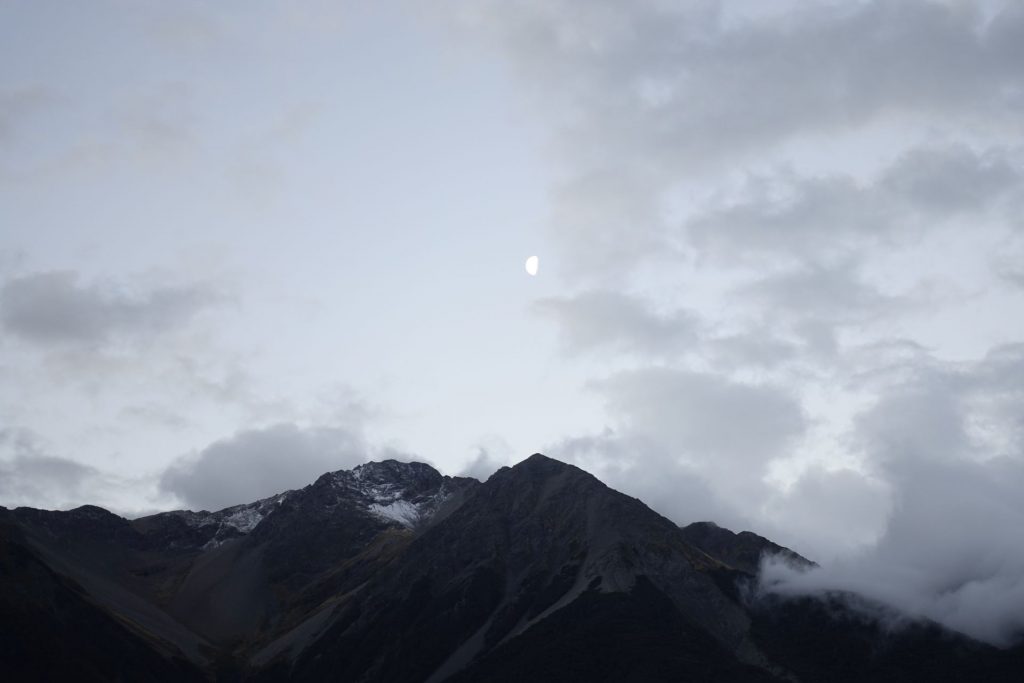
Mount Cook in the clouds 


Stage 3: Mount Cook to Wanaka
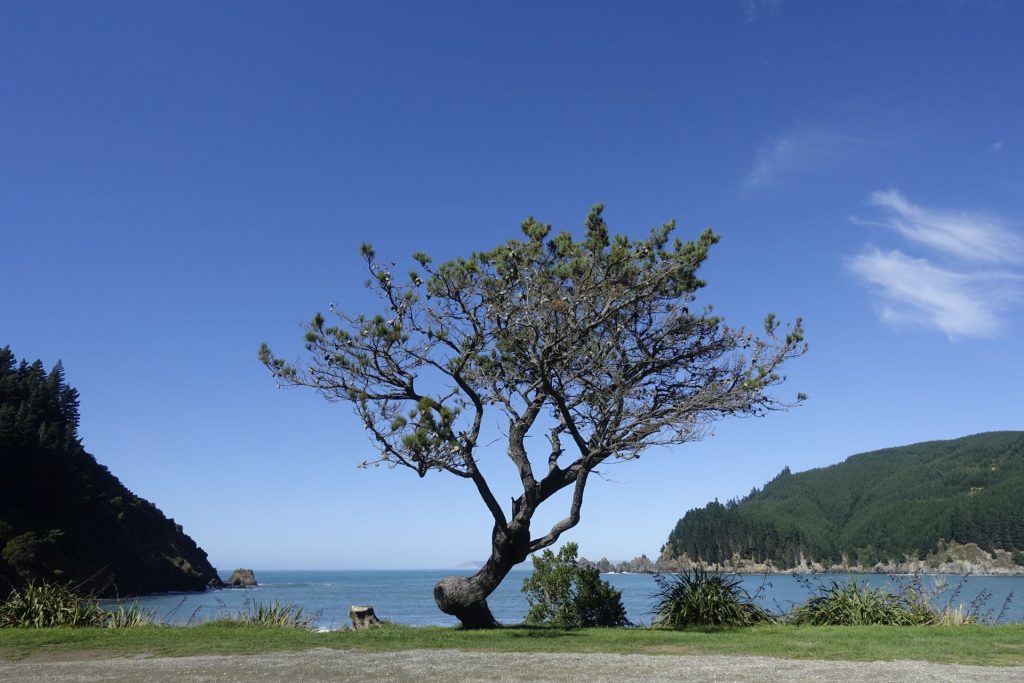
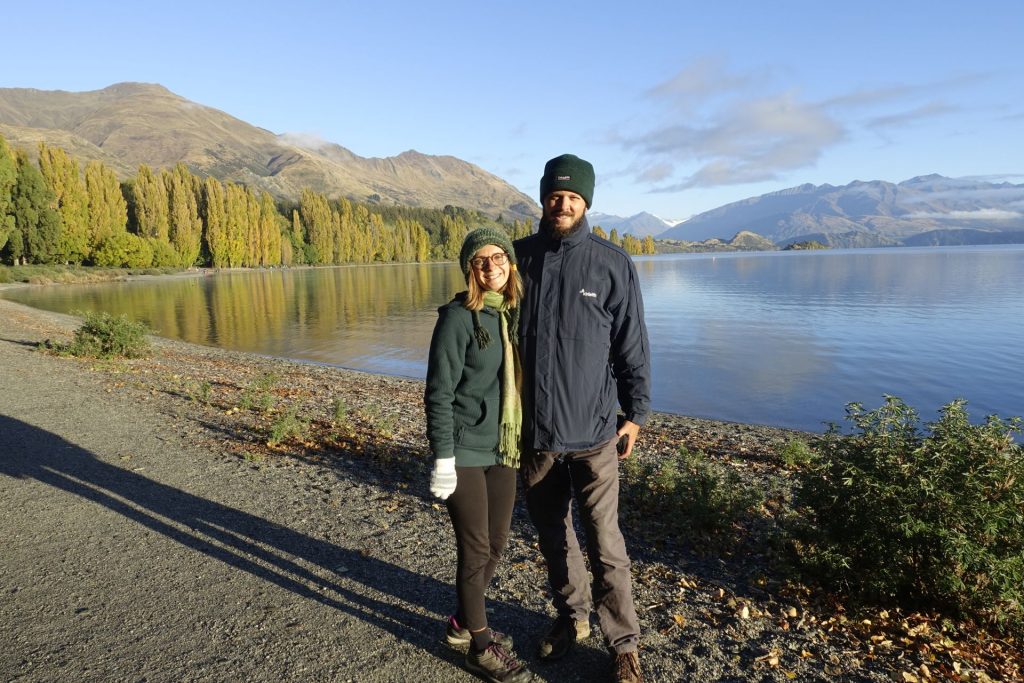
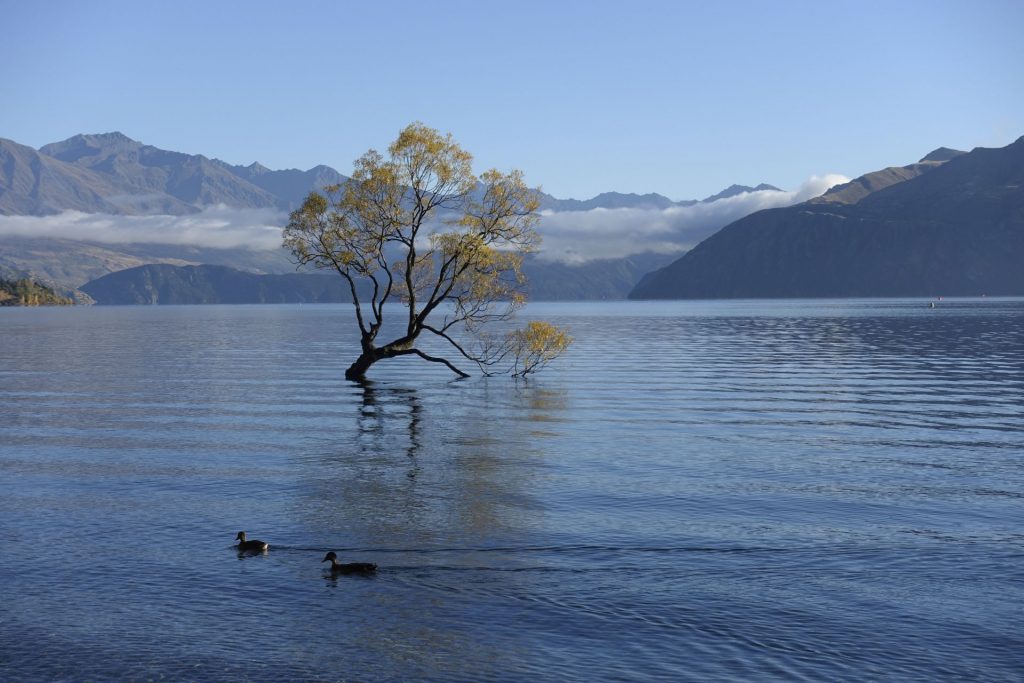
South of Mount Cook lies Wanaka lake, a beautiful place that got Instagram-famous in recent years because of a freakin’ tree??? We decided to check what all the fuss was about.
In 2014, a local photographer, Dennis Radermacher, photographed the tree and became the New Zealand Geographic photograph of the year. Then other photographers under the hashtag #thatwanakatree began to post new photos of the tree, and this attracted crowds of tourists.
An interesting fact that this tree started its life as a fence post, and its there almost 100 years!
On the road between Christchurch and Wanaka, we knew that our friends Paul & Julia were in the neighborhood, going in the opposite direction. We sent our location via Whatsapp and guess what? We had already passed them on the same road about 5km back! We turned around and met up in the middle. They had a much nicer camper and we had some tea time with snacks inside. Somehow we forgot to take a photo! So we made a deal that we would meet again in Christchurch Airport later 🙂

Wanaka lake in the morning 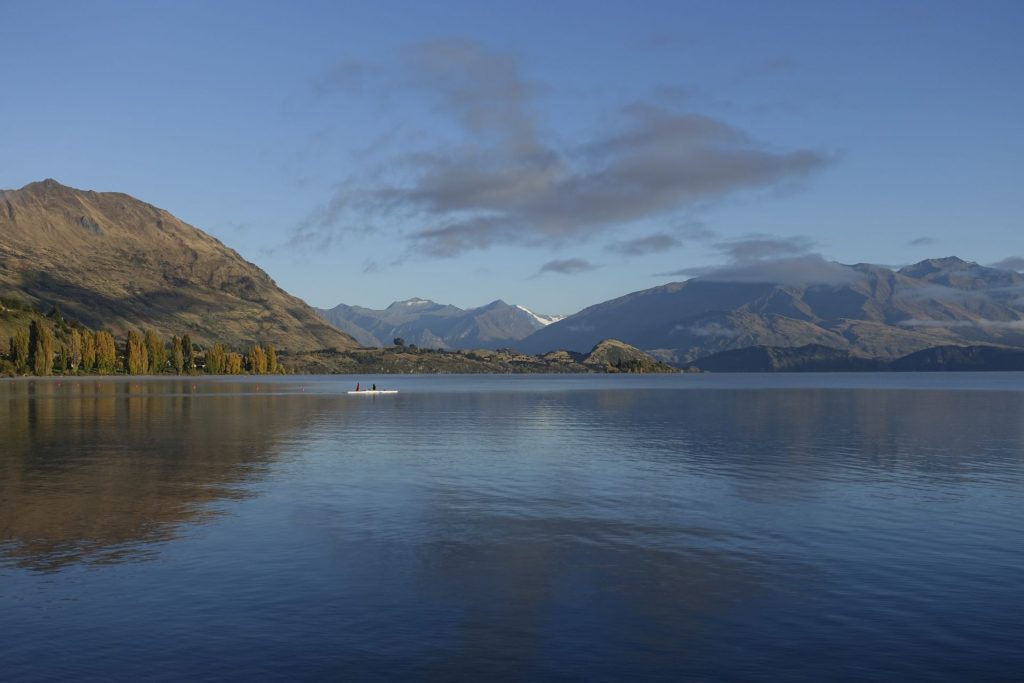


All taking the same picture! 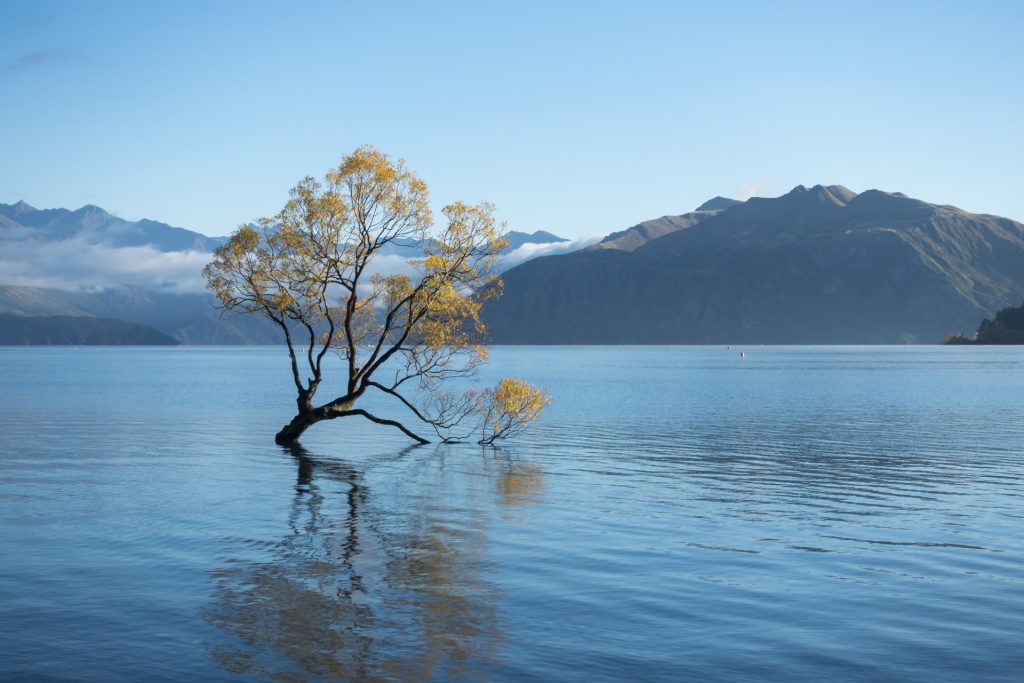
This one! 
Stage 4: Wanaka to Fox & Frans Josef glacier
We deliberated for a while if we would drive up the west coast of the south island, because a crucial bridge at Franz Josef glacier was washed away in a storm and they were frantically repairing it. If it was still broken when we would arrive at Franz Josef, we would have to do a detour of 1500km to get back to Christchurch… after closely monitoring the news about the repairs we decided to risk it!
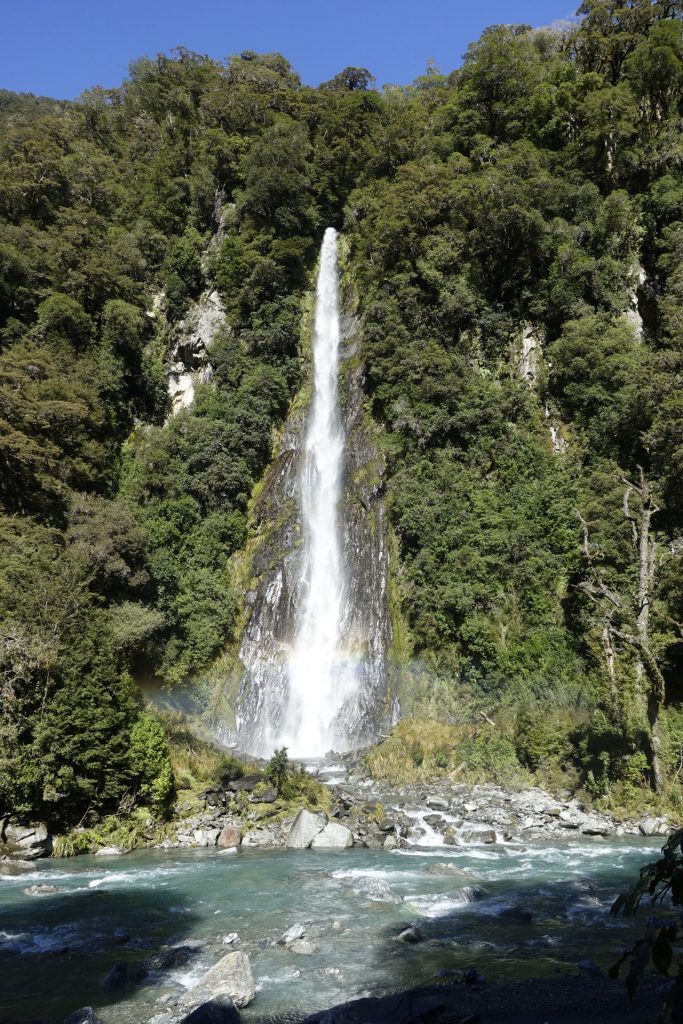
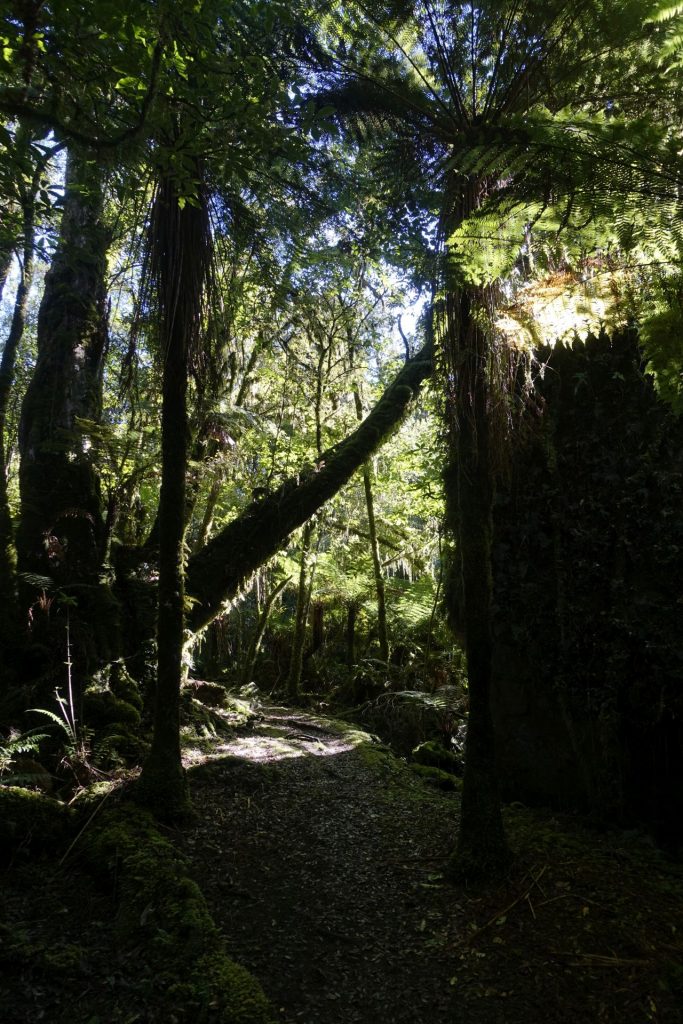
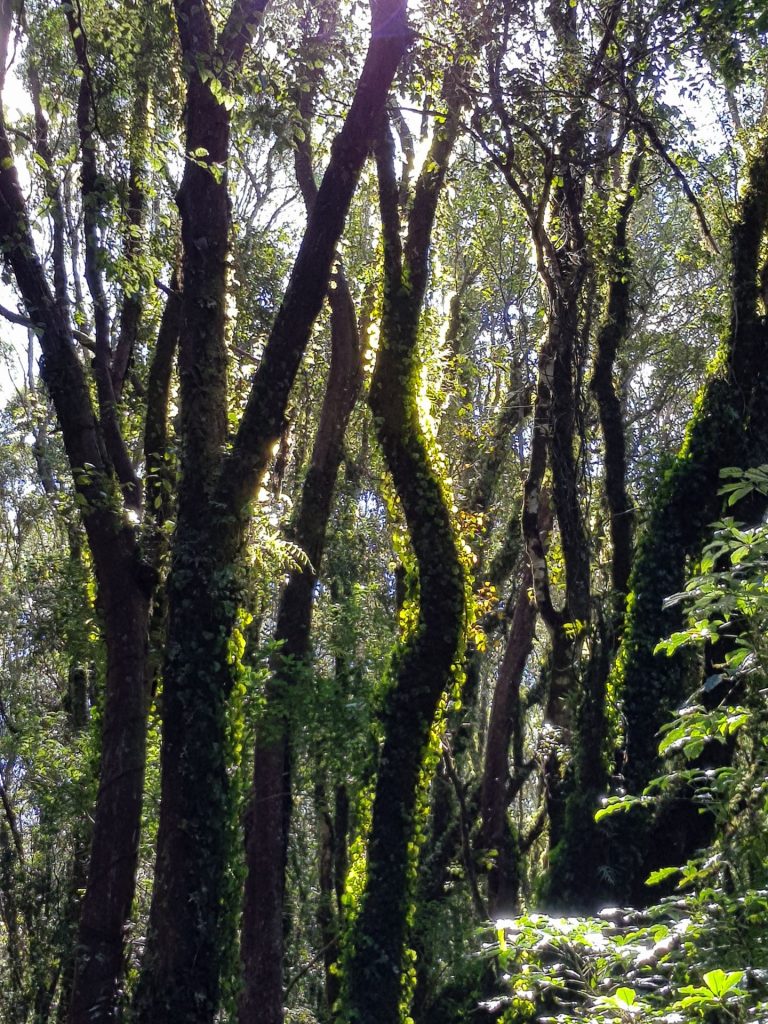
I (Wout) went to take a photo somewhere of a waterfall, I was running through the forest and tripped on a tree root, bruising my ribs… 😫 6 weeks of bad sleep coming up…


Ouch my ribs… 
Arriving at Fox and Franz Josef Glacier, the bridge was opened an hour before our arrival! We felt privileged to be one of the first ones to cross the new bridge 🙂
Unfortunately, the weather had damaged both the popular trail to Fox glacier and the one to Franz Josef! So we had the option to do the smaller walks or to take a helicopter… being drastically over budget we went for the free option 😎.


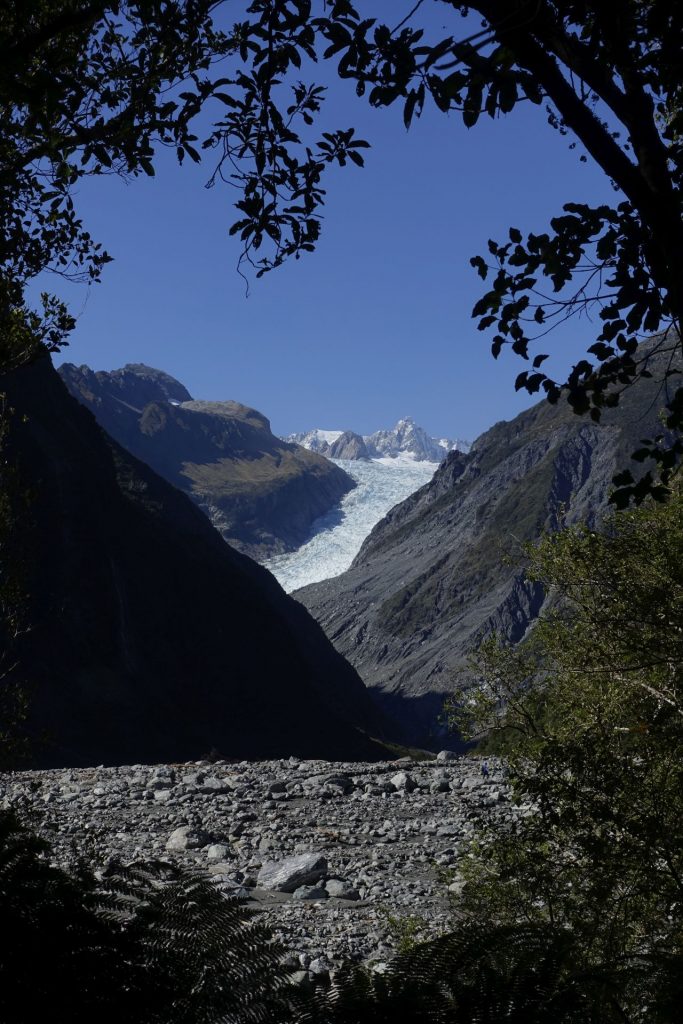
fox glacier from far 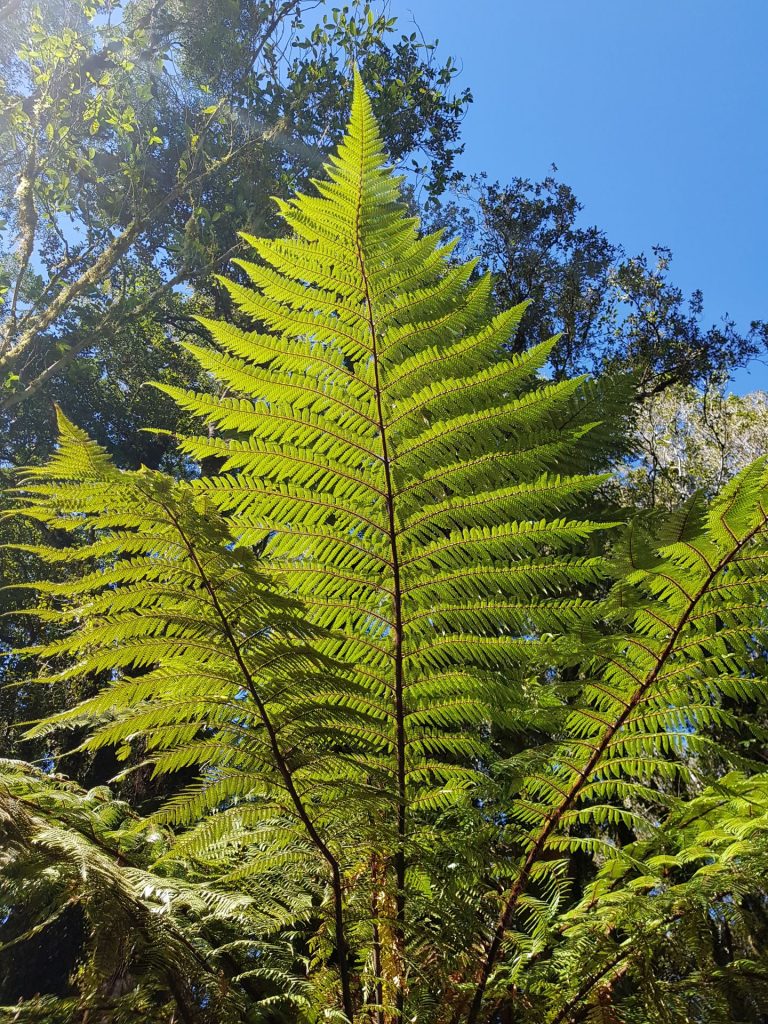


Stage 5: Frans Josef Glacier to Christchurch
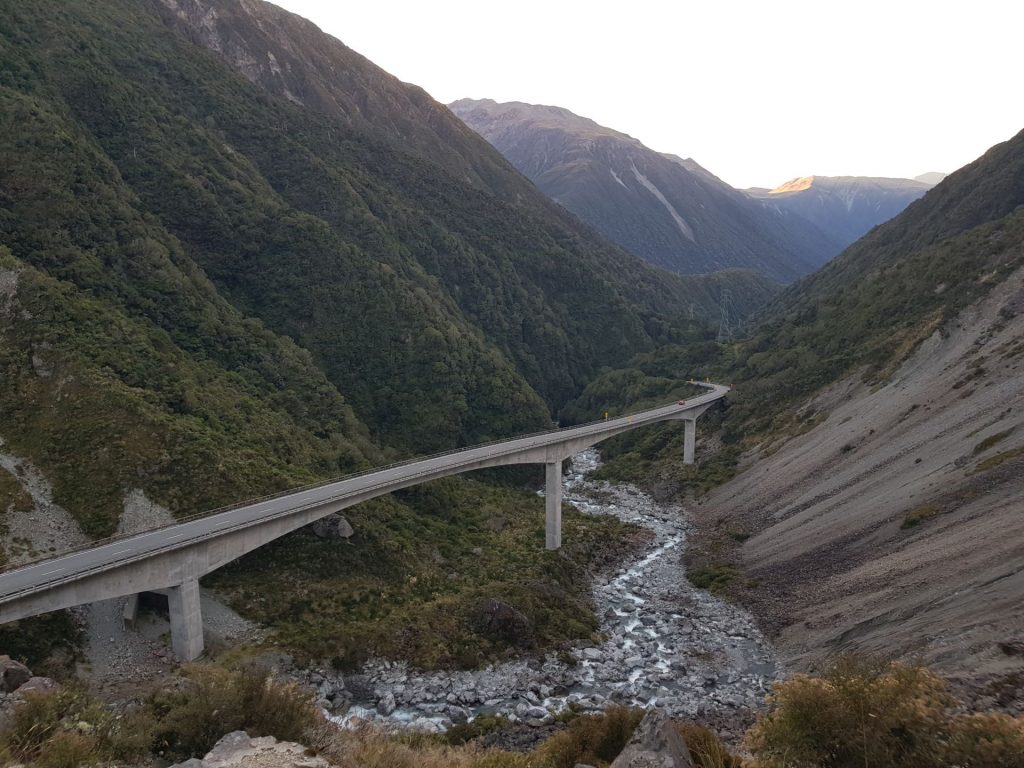
To get back to Christchurch, with the bridge open, it gave us the possibility to do a scenic drive called Arthur’s pass.
We returned the camper van in Christchurch in one piece (always a huge weight off your back when that happens) and met up with Julia and Paul in the Airport. They were headed off to Australia, while we were flying back to Auckland to take our flight to Chile the next day. Goodbye southeast corner of the world, onward to 5 months in Latin America!
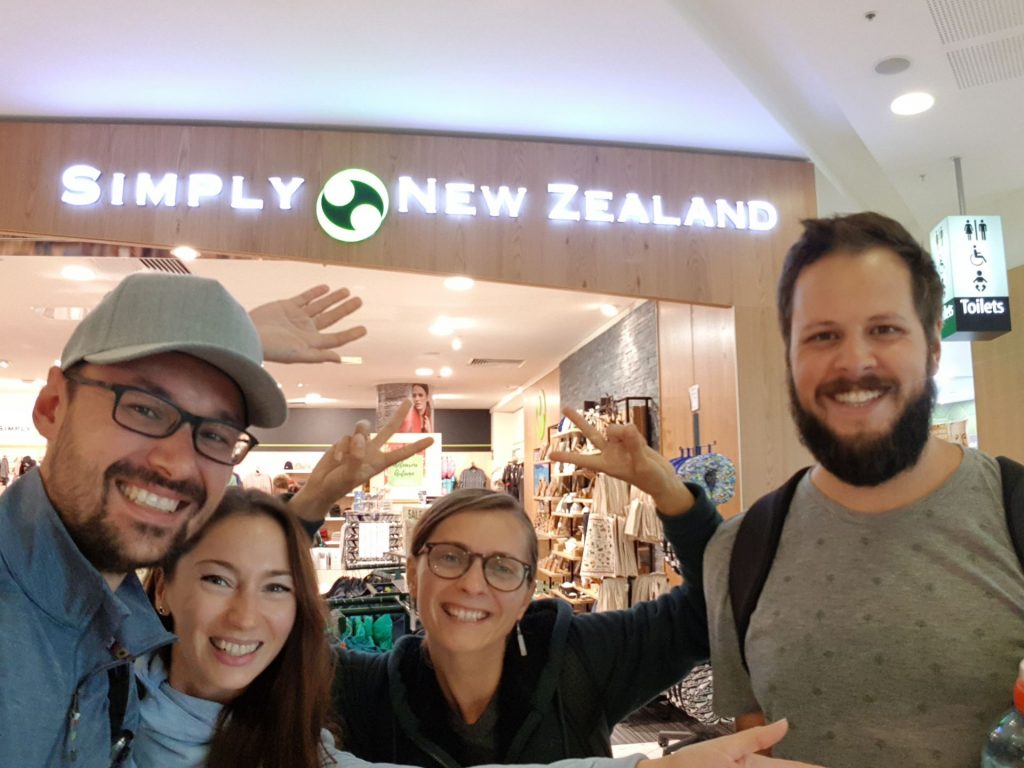
Meeting up with Julia and Paul for the 5th time!!! 
Onward to Chile…
Useful information
1 € = 1.7 $NZ (04.2019)
• Accomodation – 11 % of common budget
In the accommodation category I included 1 Airbnb + parking fee in the camping sites. Almost all camping sites in NZ are paid (but with a shower and kitchen included). Free camping usually is very basic, with no shower and electricity. In April at night is very cold in the car, so we preferred camping with electricity. For a wild camping you can have a huge fine.
To find and reserve camping sites we used a free app Camper mate, super useful! There are also a lot of useful information about sightseeing, restaurants, hostels etc. The most popular travel app for Australia and New Zealand.
• Food – 14 % of common budget (we bought everything at the supermarkets and cooked by ourselves, there is always a cooking set in campers)
• Transport – 54 % of common budget
•1 028 NZ $ – non self- contained camper from ESCAPE (2 weeks, pick up in Auckland and drop off in Christchurch (+300 NZ) no extra insurance •200 NZ $ – ferry from Wellington to Picton (camper van + 2 persons) •813 NZ $ – fuel (3 000 km – 12L per 100 km) •74 NZ $– taxi Uber •38 NZ $ – Skybus airport in Auckland •85€ pp – flight from Christchurch to Auckland
• Activity – 14 % of common budget
There is a free magazine at the airport that called ARRIVAL, with a reduction for almost all main activities in NZ! Hostels or campings also offeres a 10 % discount sometimes for the activities close by •In Rotorua – Waimango volcanic valley – 42 NZ$ pp •In Rotorua – Wai-o-tapu – 30 pp •In Rotorua – volcano visit orakei korako – 35 pp •In Rotorua – crater of the moon – 8 pp •transport to tongariro path – 40 pp •Wail watching in Kaikoura – 135 pp •Franz Josef Glacier hot pools – 23 pp (cool!)
• Other (postcards, laundry etc ) – 8 % of common budget •100 NZ $– sim card for 10 Gb